
How to create a recruitment workflow that tracks candidates
Build a recruitment workflow that manages applications, tracks candidate stages, and automates hiring updates for your HR team.

Streamline hiring from application to onboarding
In this guide, you’ll build a recruitment workflow that helps HR teams manage applications, evaluate candidates, and track progress, all in one place. You’ll also automate notifications, scoring, and dashboards to keep your hiring process organized and transparent.
📘 Learn more: Create your first form, app, or portal in a flash
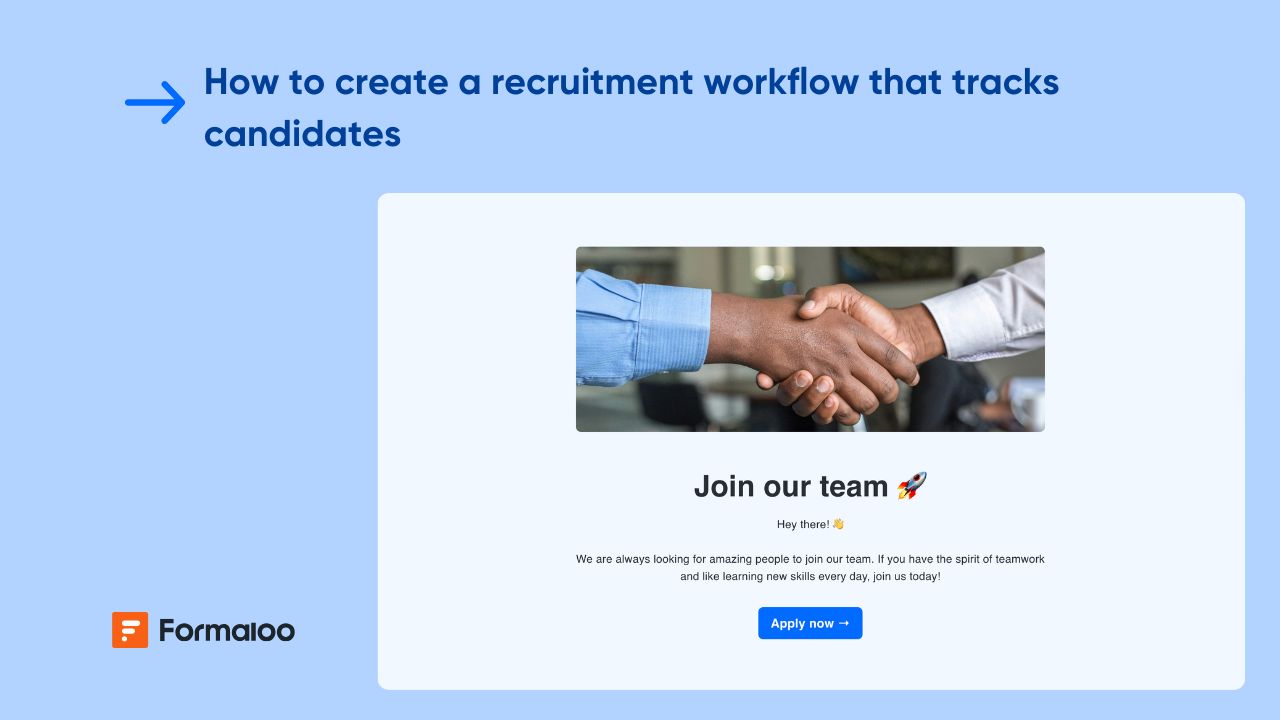
Step 1 — Create your job application form
Start from your workspace and click + New → Form. You can start from scratch or use the Job Application or Recruitment Workflow template from the Template gallery.
Or use Magic Create, describe what you need:
“A recruitment form that collects candidate details, evaluates qualifications, and tracks hiring stages automatically.”
Why this matters: it centralizes all candidate data in one system.
📘 Learn more: How to create any form using Magic Create in Formaloo
Step 2 — Add candidate and job details
Include all relevant fields for initial application review:
- Full name
- Email address
- Phone number
- Position applied for
- Resume upload
- Portfolio or LinkedIn link
- Years of experience
- Preferred start date
💡 Tip: add an admin-only field like Application status with values (New → Reviewed → Interview → Hired → Rejected).
📘 Learn more: Form editor and field types
Step 3 — Add qualification and skill rating fields
Use multiple-choice and rating fields for structured evaluation:
- Education level
- Key skills (multi-choice)
- Communication skills (rating 1–5)
- Technical skills (rating 1–5)
- Cultural fit (rating 1–5)
💡 Pro tip: keep your scales consistent to simplify scoring and logic.
📘 Learn more: How to customize text field and long text field
Step 4 — Calculate candidate scores automatically
Add variable fields to sum up skill and fit ratings for an overall evaluation score.
Example formula:
communication = @communication_rating
technical = @technical_rating
fit = @cultural_fit_rating
total_score = (@communication + @technical + @fit) / 3
Display it dynamically:
“Candidate score: @total_score / 5.”
📘 Learn more: How to add and calculate scores using variable fields
Step 5 — Add logic for automatic status changes
Go to Settings → Advanced logic to automate your hiring stages:
- If total_score ≥ 4 → Change Status to ‘Interview’
- If total_score ≤ 2.5 → Change Status to ‘Rejected’
- If candidate selected = true → Notify HR for onboarding
📘 Learn more: How to add advanced logic to your form
Step 6 — Automate email notifications
Open Settings → Advanced logic or Notify tab to send automated updates:
- To candidate: confirmation email after submission.
- To HR team: alert when new candidate applies or reaches interview stage.
- To hiring manager: summary of shortlisted candidates weekly.
Personalize with variables like @candidate_name, @position, and @total_score.
📘 Learn more: How to create and send custom email templates
Step 7 — Enable on-update logic for interview tracking
Use on-update logic to change statuses automatically when actions are taken:
- When HR adds interview date → Notify candidate.
- When feedback field updated → Set status = ‘Reviewed’.
- When status = Hired → Send onboarding email and mark as complete.
📘 Learn more: What is on-update logic and how it works
Step 8 — Build a recruitment dashboard
Go to your Results → Responses tab and create real-time visualizations:
- Table view: list candidates and sort by position or status.
- Kanban view: track progress through hiring stages (New, Reviewed, Interview, Hired, Rejected).
- Charts: see average scores, hiring rates, and department trends.
📘 Learn more: How to create a Kanban board
Step 9 — Create an HR recruitment portal
From your workspace, create a Recruitment Portal.
Add pages like:
- Active candidates (by department or position)
- Shortlisted candidates
- Archived applicants
- Analytics dashboard
Set access so recruiters and hiring managers can collaborate securely.
📘 Learn more: How to create a portal and manage users’ access
Step 10 — Use AI to analyze hiring data
Enable AI Analyze to uncover trends and insights:
- “Top sources of successful candidates.”
- “Average time from application to hire.”
- “Most common rejection reasons.”
📘 Learn more: Uncover insights and trends in your data with AI Analyze
Pro tips
- Link this workflow with your employee directory to streamline onboarding.
- Use Memory Forms to auto-fill HR reviewer info.
- Connect to Google Sheets for extended reporting and backups.
📘 Learn more: How to connect forms with automatic data transfer
Example scenario
A candidate applies for the Marketing Manager role. The form scores their qualifications at 4.2 and automatically marks their status as Interview. HR receives a notification, schedules an interview, and updates the status to Reviewed. After selection, a PDF offer letter is sent automatically, and the workflow logs the hire in the dashboard.
📘 Learn more: Build personalized and time-saving flows with logic, automations, and AI
FAQ
- Can multiple recruiters collaborate on one workflow?
Yes, use portals and user roles to manage recruiter visibility and actions. - Can I reuse this setup for different roles?
Absolutely, duplicate the workflow and adjust logic for each job opening. - Can candidates edit their submissions?
Yes, enable editing or build a candidate portal for status tracking and updates.
📘 Learn more: How to let users view and edit their own data in your portal
Your hiring system is live, track candidates with ease
You’ve built a complete recruitment workflow that scores, tracks, and manages candidates automatically. Keep refining your logic and dashboards to make hiring faster, fairer, and more transparent.
📘 Learn more: How to personalize ending pages and email notifications with AI
Last updated October 2025
.png)

.jpg)


