How to add a Google Form header image in seconds
In this article, I'll explain everything you need to know to add a custom Google Form header image and offer a few tips for making the most of it.
Google Forms is a great tool for creating simple forms, but it's not very customizable. Even if your brand uses the same purple color as Google Forms’s default page, you should add a custom header image.
Google Forms header image is the first thing people see when they open a form, so you want it to grab their attention and make them want to fill it out.
In this article, I'll explain everything you need to know to add a custom Google Form header image and offer a few tips for making the most of it.
How to add a Google Form header image
When you open a blank Google form, it gets straight to business. You don’t see any banner image by default, instead, it jumps straight to the form title, description, and questions.
Templates in Google Forms, however, often have a header image inserted in them, but there are very few templates currently.
In case you don’t find a relevant template and have to make your online form from scratch, here are the steps you need to follow to add or change top image on Google Forms.
1. Open your Google Form
To start the process of adding a Google Form header image, navigate to the Google Forms homepage by visiting forms.google.com. You will need to sign in to your Google account if you aren't already signed in.
Start a new form or open a previously made Google Form where you want to add a header image. If you’re creating a new form, you can also check out the 10+ templates Google Forms offers for different educational and business purposes.

2. Click on the palette icon
Once a form is opened, you can customize it to add your own header image. Click on the palette icon located at the top toolbar labeled “Customize Theme.”
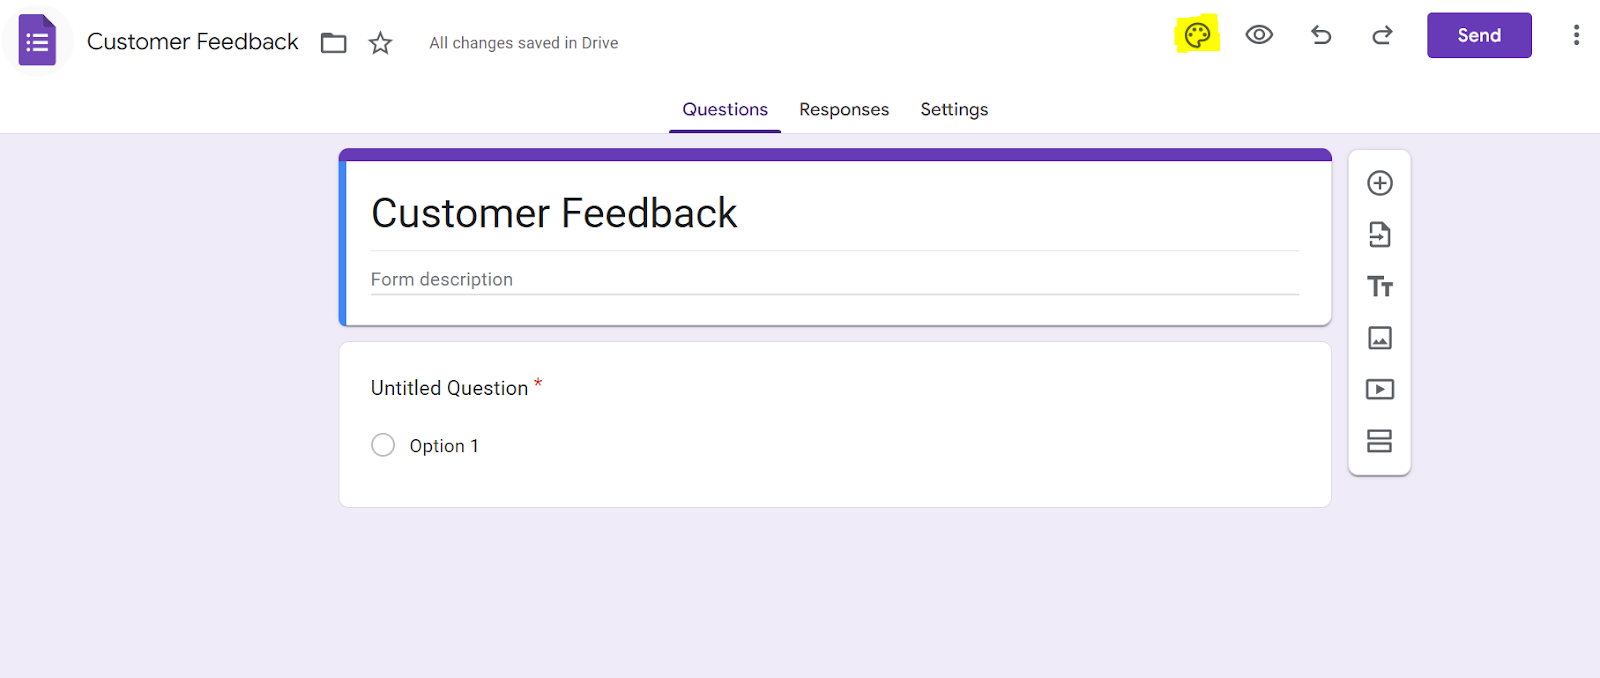
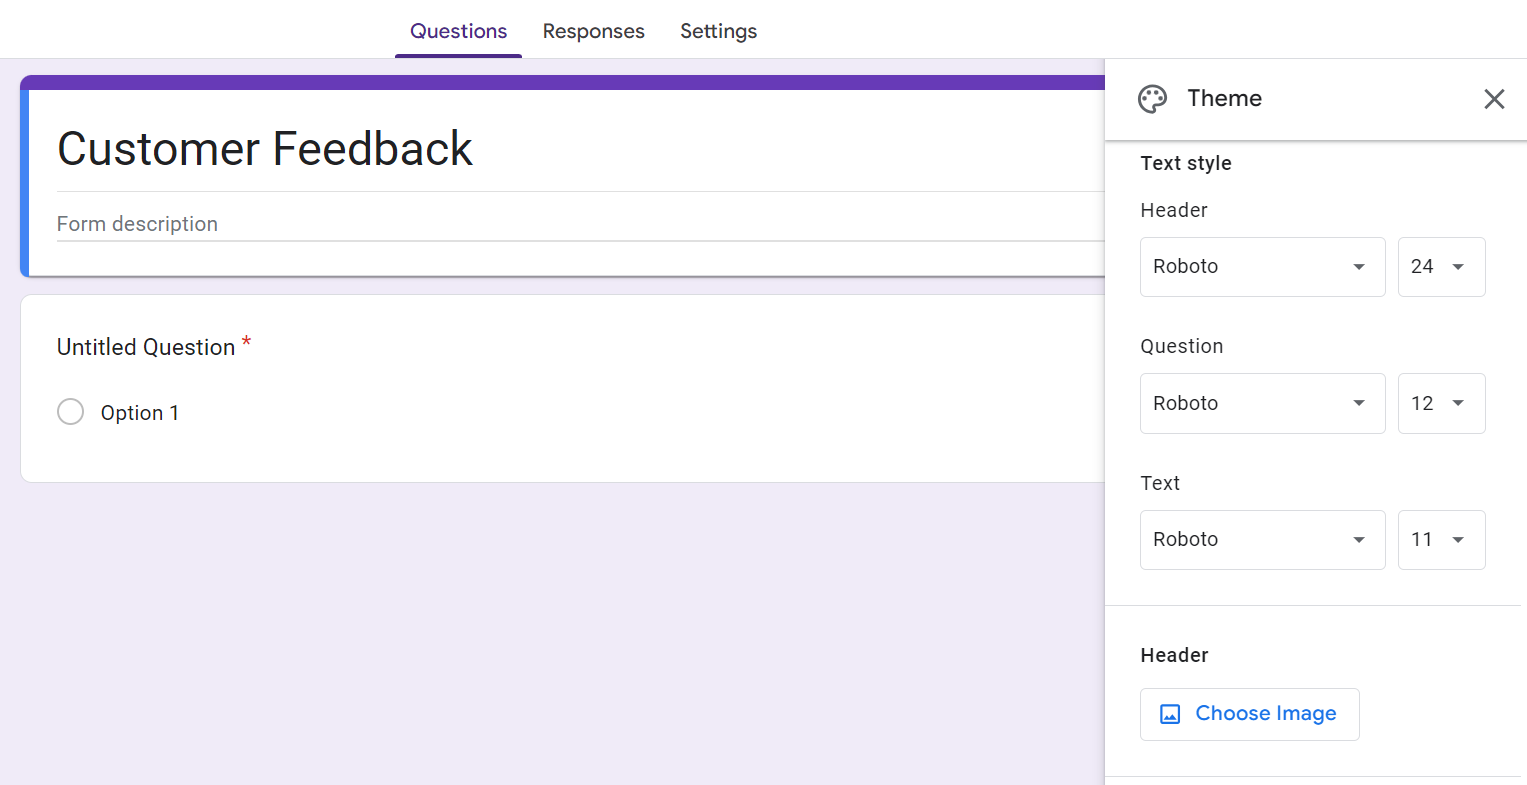
The “Customize Theme” option opens a sidebar with multiple customization options. You can change the colors of your form, play around with font size and style, and add a header.
3. Select "Choose Image" under the header section
In the “Header” section of the Theme sidebar, you will see a button in blue that says “Choose Image.”
Click on it to open the image selection pop-up window. The button allows you to select an image of your choice for your header.
4. Choose an image from gallery or upload your own
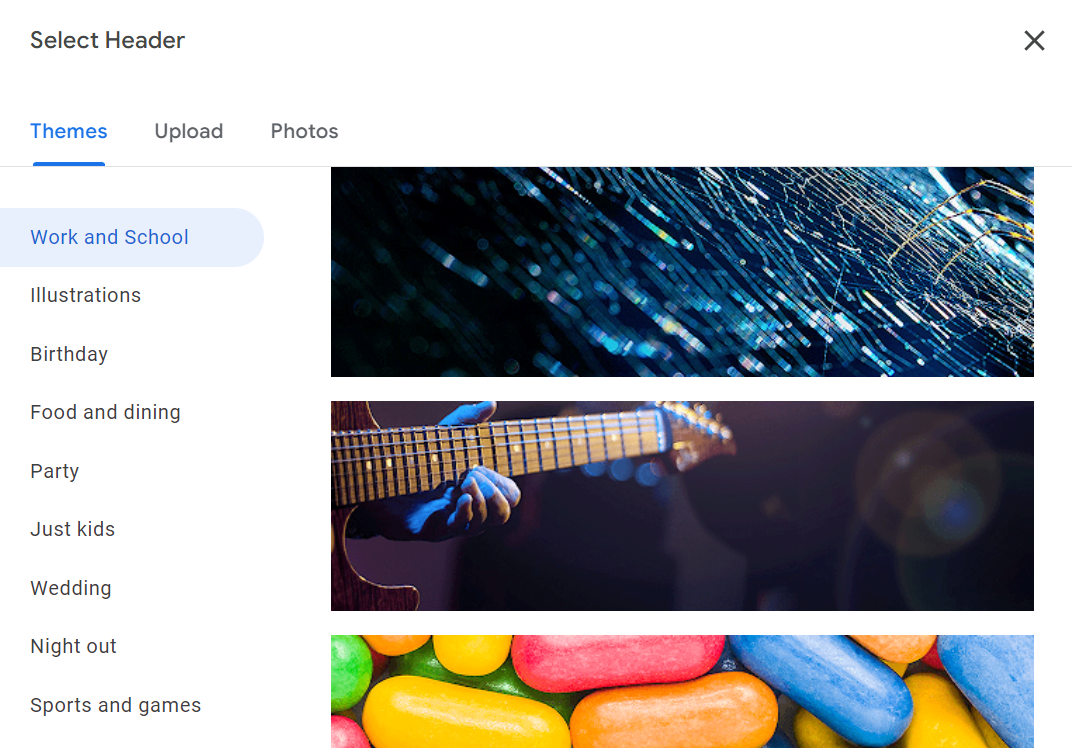
A dialogue box appears when you click on “Select Image.” In the dialogue box, you will find 3 tabs:
- Themes: There are plenty of themed Google Form header images suited for different purposes in the form library. In the sidebar, you can see tags such as work and school, illustrations, birthdays, parties, sports and games, etc. You can select an image from this media library if you like.
- Upload: You can also select an image you have saved on your computer or laptop. Simply browse through your images or drag and drop your selected image onto Google Forms.

- Photos: Google Photos backs up your images from all devices where your Gmail is logged in. You can browse through your backed-up images and select one from them as well.
Once you have an image selected, click on “Insert.”
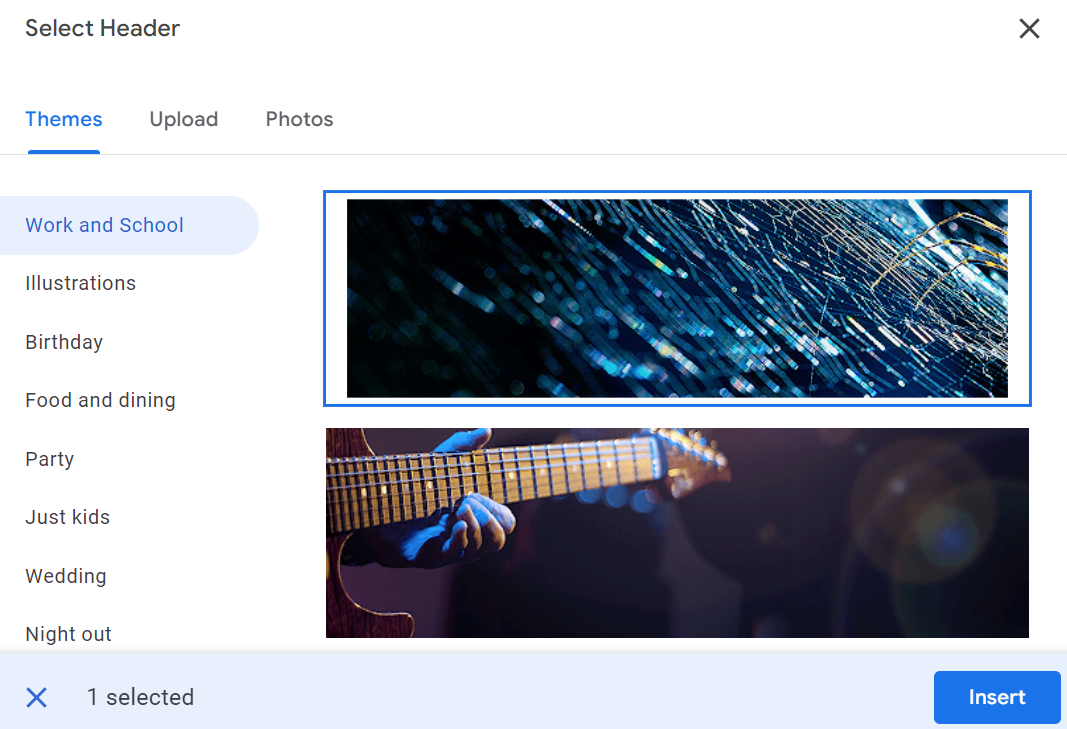
The selected image will then be added as a Google Form header image.
Finally, click the “eye” icon at the top right of the form to preview how the header image looks on your form.
And voila! You have added a google form header image. Now, let’s look at some of the things you need to keep in mind while adding images to your Google Forms to make the most out of it.
Tips for Google Forms header images
Google Forms isn’t particularly suited for visual purposes. Most of its settings are limited to text-based configurations.
However, you can make your form look professional by following the tips below for Google Forms header images.
1. Use a 1600px by 400px size
The recommended Google form header dimensions are 1600 x 400 pixels (4:1 aspect ratio). So, most images captured in popular 1:1 or 9:16 ratios get cropped when added as a header.
You can add an image of any size, but it will be cropped to a 4:1 ratio. If you want to create an image with the specified size, head over to Canva to create one of the recommended sizes so you don’t risk losing important aspects of your header image.
2. Choose high-resolution images
The image you upload on Google Forms should be of high resolution so it is displayed sharply. Low resolution Google Form headers are not displayed well, especially on mobile devices. They look blurry and pixelated.
A professional header image should never be blurry. The point of the header is to make your form visually appealing or incorporate your company branding. Only a sharp, high-resolution image will serve your purpose.
3. Make your branding consistent
If you made a Google Form for business purposes, make sure the Google Form header image is made with the color palette your company uses the most. Or at least, it should be made using your brand colors.
Also, If there’s any text in your Google Forms banner, it should match the font style your company uses the most.
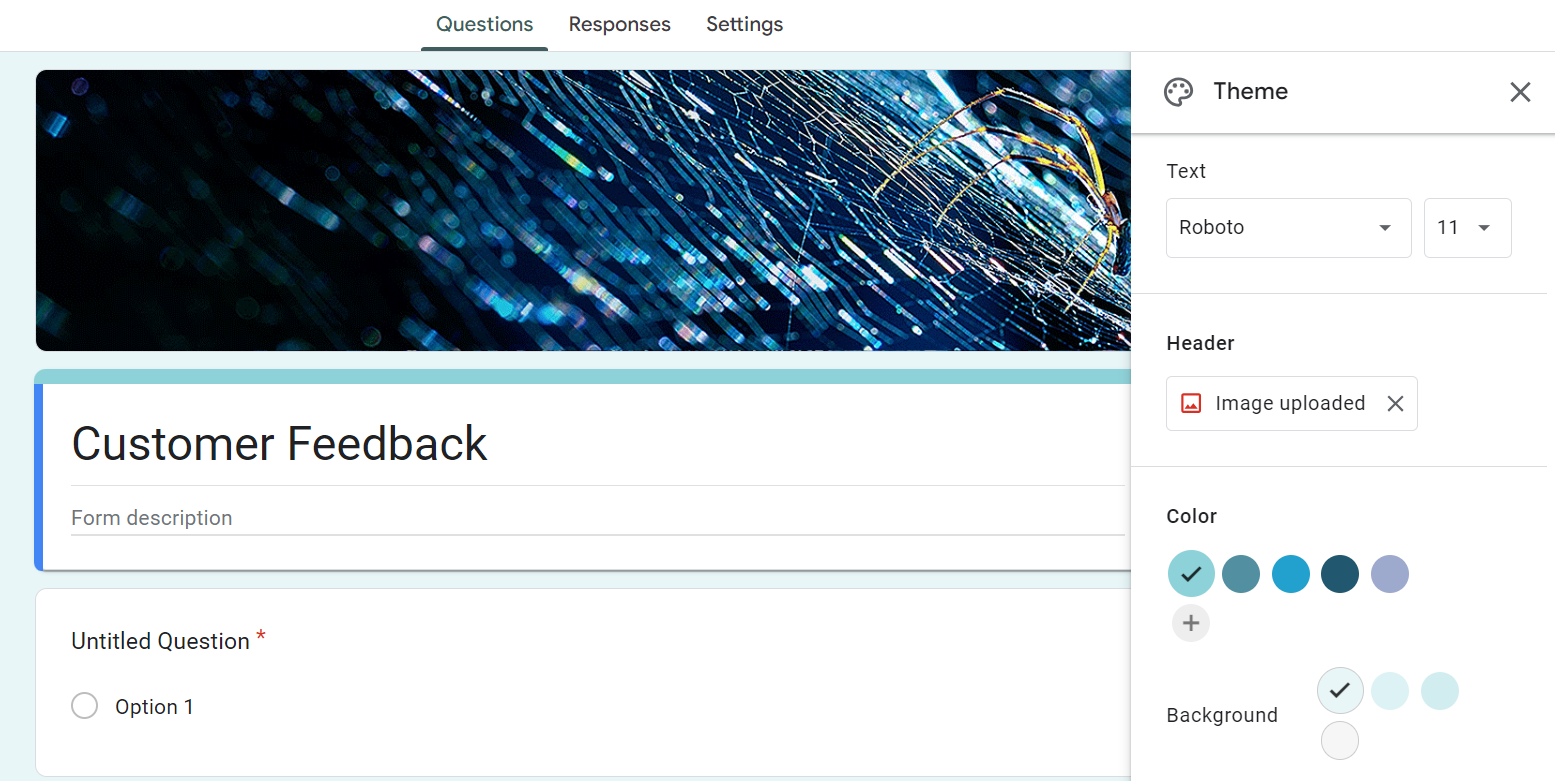
Once you upload the image, Google Forms will automatically change the background color of the form based on the header colors.
However, if you wish to make changes to the background color, click on “Customize Theme”, and scroll down to “Background” section and select the appropriate background color scheme.
See how the background color of the form in this example below is automatically changed to light blue tones.
4. Test on different devices
Preview your form on various devices—desktop, tablet, and mobile—to make sure the header image displays correctly everywhere.
The purpose of testing the form on multiple devices is to ensure your header image is not distorted or cropped on smaller screens.
If you’re adding the header image to a Google Form using your computer or laptop, you can also check the responsiveness of your image.
Add a background image for a finishing touch
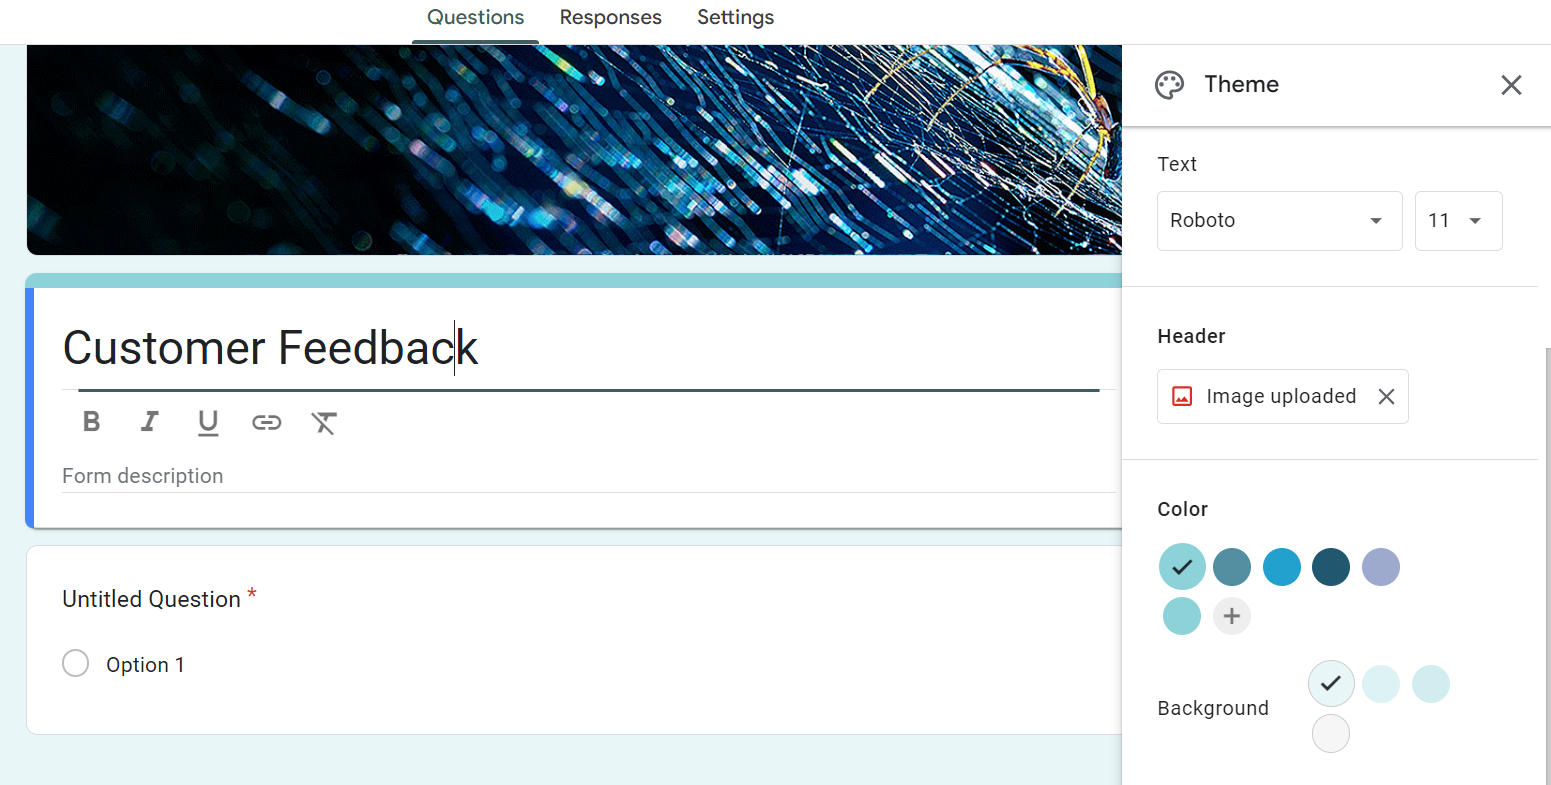
In Google Forms, there is no option to add a custom background image. Instead, you can only customize the form by changing two background elements other than the font style and header image.
- The form color: You can modify the color scheme of your form by selecting different theme colors. However, the form color only applies to the form's header and accent areas. The customization is limited to preset color palettes.
- Background color: You can also adjust the background color, which changes the area outside the main form content. Again, the background color is plain and doesn’t allow for further customization, like adding an image or changing the texture.
You will have to look towards a Google Forms alternative that offers custom background functionality to brand your form more effectively.
FAQs
What size is a Google Forms cover picture?
The recommended cover picture size, otherwise known as the Google Form header image size, is 1600 x 400 pixels or a 4:1 ratio. Your image should be four times as wide as its height for it to fit best as the cover picture.
How to add a banner on Google Forms?
To add a banner in Google Forms, click the palette icon at the top, select "Choose Image" under the header section, then upload your banner image or pick one from the gallery. The banner will appear as the form's header. Make sure your Google Form banner size is 1600 by 400 pixels.
Formaloo: A better alternative to Google Forms!
Google Forms is very easy-to-use, but is extremely limited in terms of design customization.
Yes, it is possible to add a google form header image, but that’s pretty much all you can do except for changing form colors and font styles.
Formaloo is a great alternative to Google Forms. It lets you create beautiful and engaging forms with extensive customization and detailed analytics.
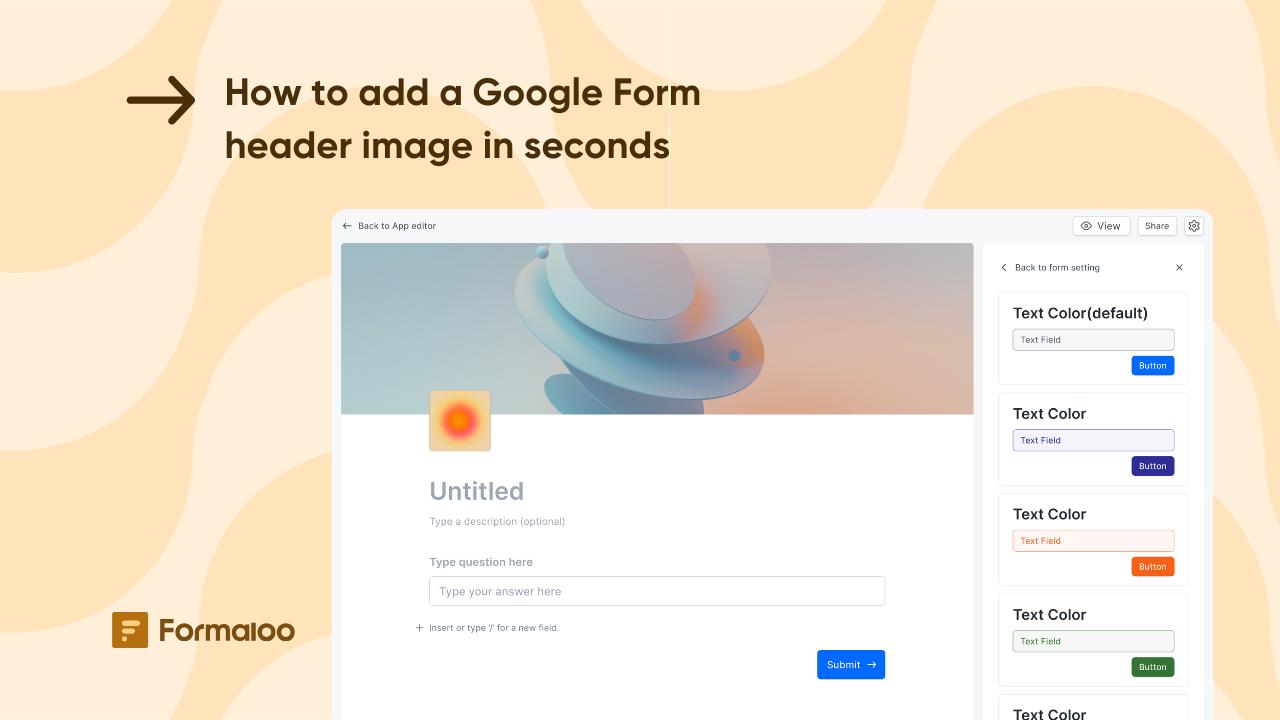
In the Design tab, you can add a background image and an overlaying shadow on top of it to make your text more visible.
Formaloo is perfect for you if you want:
- Custom background images
- Full control over form design
- Greater flexibility in branding with logos and colors
Check out Formaloo today.


