
Step-by-step process to create an RSVP Google Form within minutes
When planning an event, you’ve got a million things to juggle, and knowing who’s actually going to show up is key. That’s where an RSVP Google form can help. Read on!

Planning an event, whether it's a wedding, a conference, a birthday bash, or just a friendly get-together, can feel like herding cats.
You’ve got a million things to juggle, and knowing who’s actually going to show up is key to making sure everything runs smoothly. That’s where an RSVP Google form can come to your rescue.
RSVP forms help you estimate the headcount for your event and a clear picture of your guest list without all the guesswork.
In this article, I'm going to show you how to create an RSVP Google Form that makes it easy for your guests to confirm their attendance and for you to stay organized.
But first, let’s take a quick refresher on what RSVP forms are and why they’re so important.
What are RSVP forms?
RSVP stands for "Respondez s'il vous plait," which is French for "Please respond." An RSVP form is a modern and convenient way of asking people if they'll be attending your event.
The process of sending out RSVP forms is simple. You send out the form with details about the event, and invitees fill it out with their name, contact info, and whether they plan to attend.
RSVP count is used to estimate an accurate number of attendees to plan for food, seating, and other logistics.
It also allows you to gather any special requests or information from your guests, such as dietary restrictions or preferences to accommodate their needs.
6 Easy steps to create an RSVP Google Form
Now that you know what an RSVP Google form is and why it’s so darn useful, here are the exact steps needed to create one.
1. Open Google Forms and create your RSVP form
First things first, open your web browser and visit the Google Forms website. This will take you straight to the Google Forms homepage if you’re signed into your Google account. If not, make sure to sign in first.
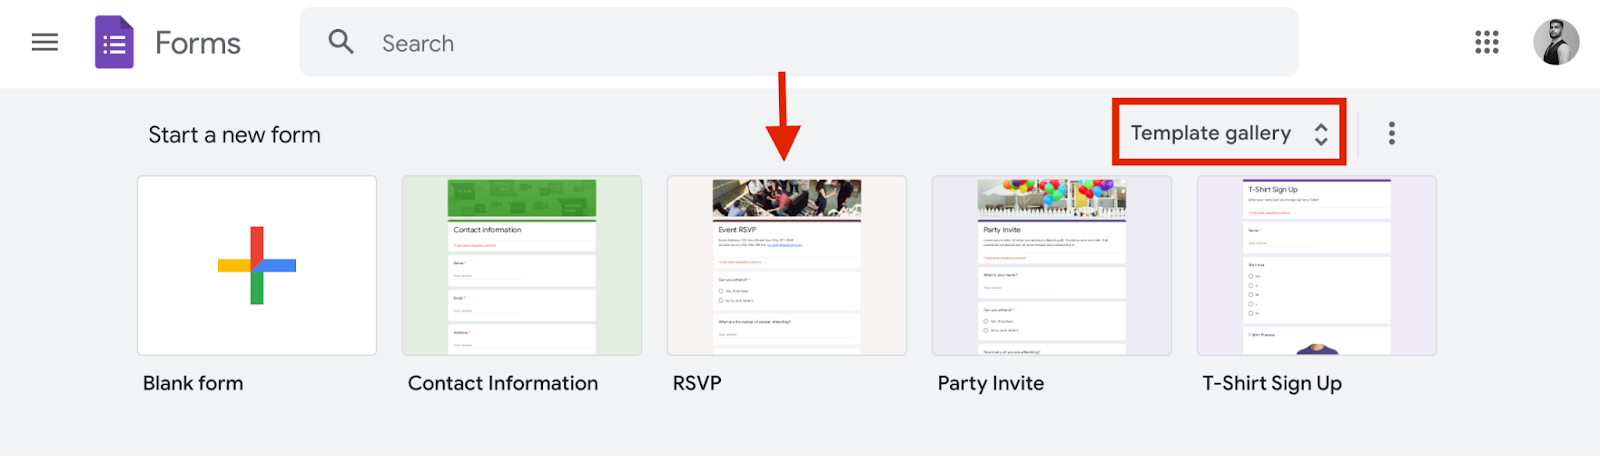
On the Google Forms homepage, you will see a pre-made RSVP template that Google offers.
If you don’t see a pre-made RSVP form template, look for the “Template gallery” at the top of the page and click on it. You'll see all the templates Google offers. Click on the Google Form RSVP template to open the form.
However, If you want a more customized form, you can make your own from scratch by clicking the big "+" icon at the left to start with a blank form.
For this example, I wil be using the RSVP form template by Google.
2. Edit the questions
Whether you chose the RSVP template or started fresh, it's time to customize the questions.
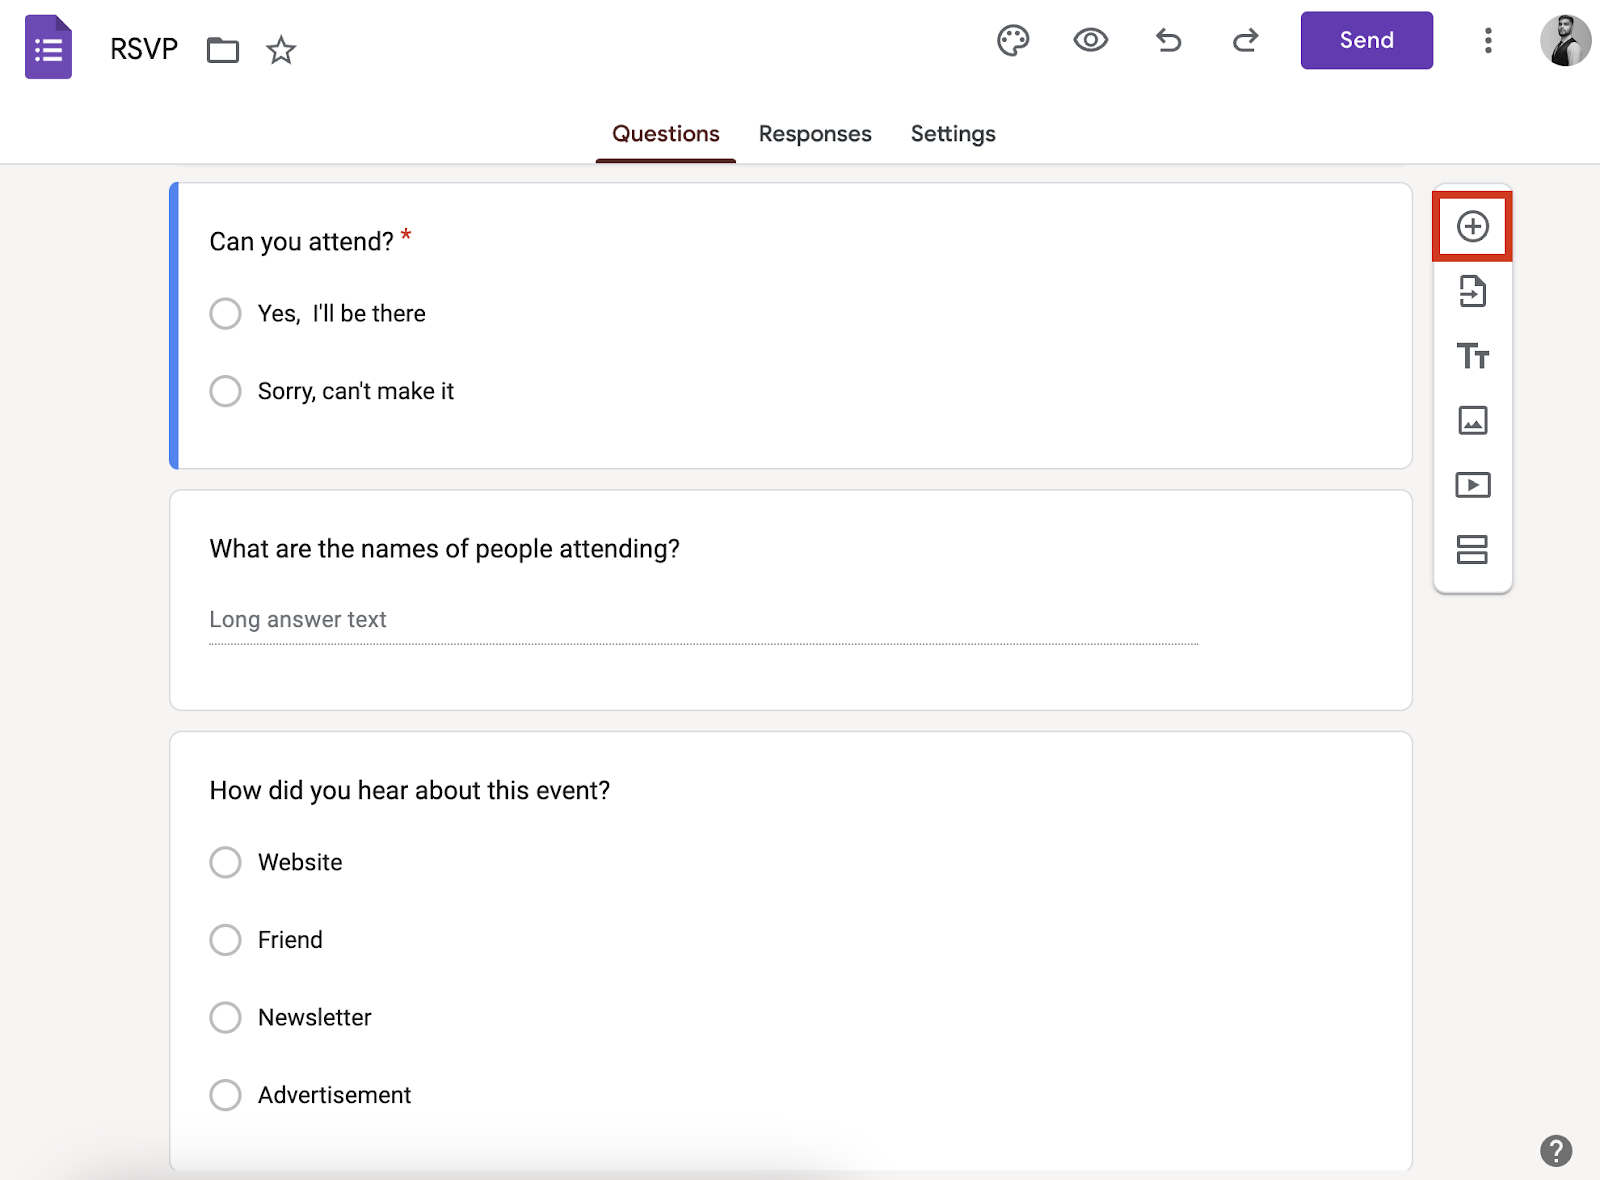
The pre-made template already has some basic questions, but feel free to tweak them to fit your event. Click on the question text to edit it.
Your form must have the following RSVP questions:
- "Will you be attending?" This is the heart of your RSVP form. It should be a multiple-choice question with options like "Yes," "No," and even "Maybe" (if you're feeling flexible).
- "Guest Name(s)" This question will help you keep track of who's coming, especially for group RSVPs. Keep it a short answer question where respondents can type in their names.
- "How did you hear about the event?" Include this question so you can gauge the effectiveness of your marketing channels and understand which channel brings in the most attendees (if that concerns you).
The Google RSVP form template already includes these questions.
Consider marking all of the above questions as "Required" so people must fill these details before they can submit the form.
You can go ahead and add more questions if you need them. Click the "+" icon on the sidebar to add a new one.
3. Personalize your RSVP form
If you have started a new form, click on the untitled form title at the top and give it a catchy name. This template is already titled RSVP. You can rename it by clicking on the title.
Add a short description below the title to give your guests some context. Briefly explain what the event is and why they're receiving the RSVP form.

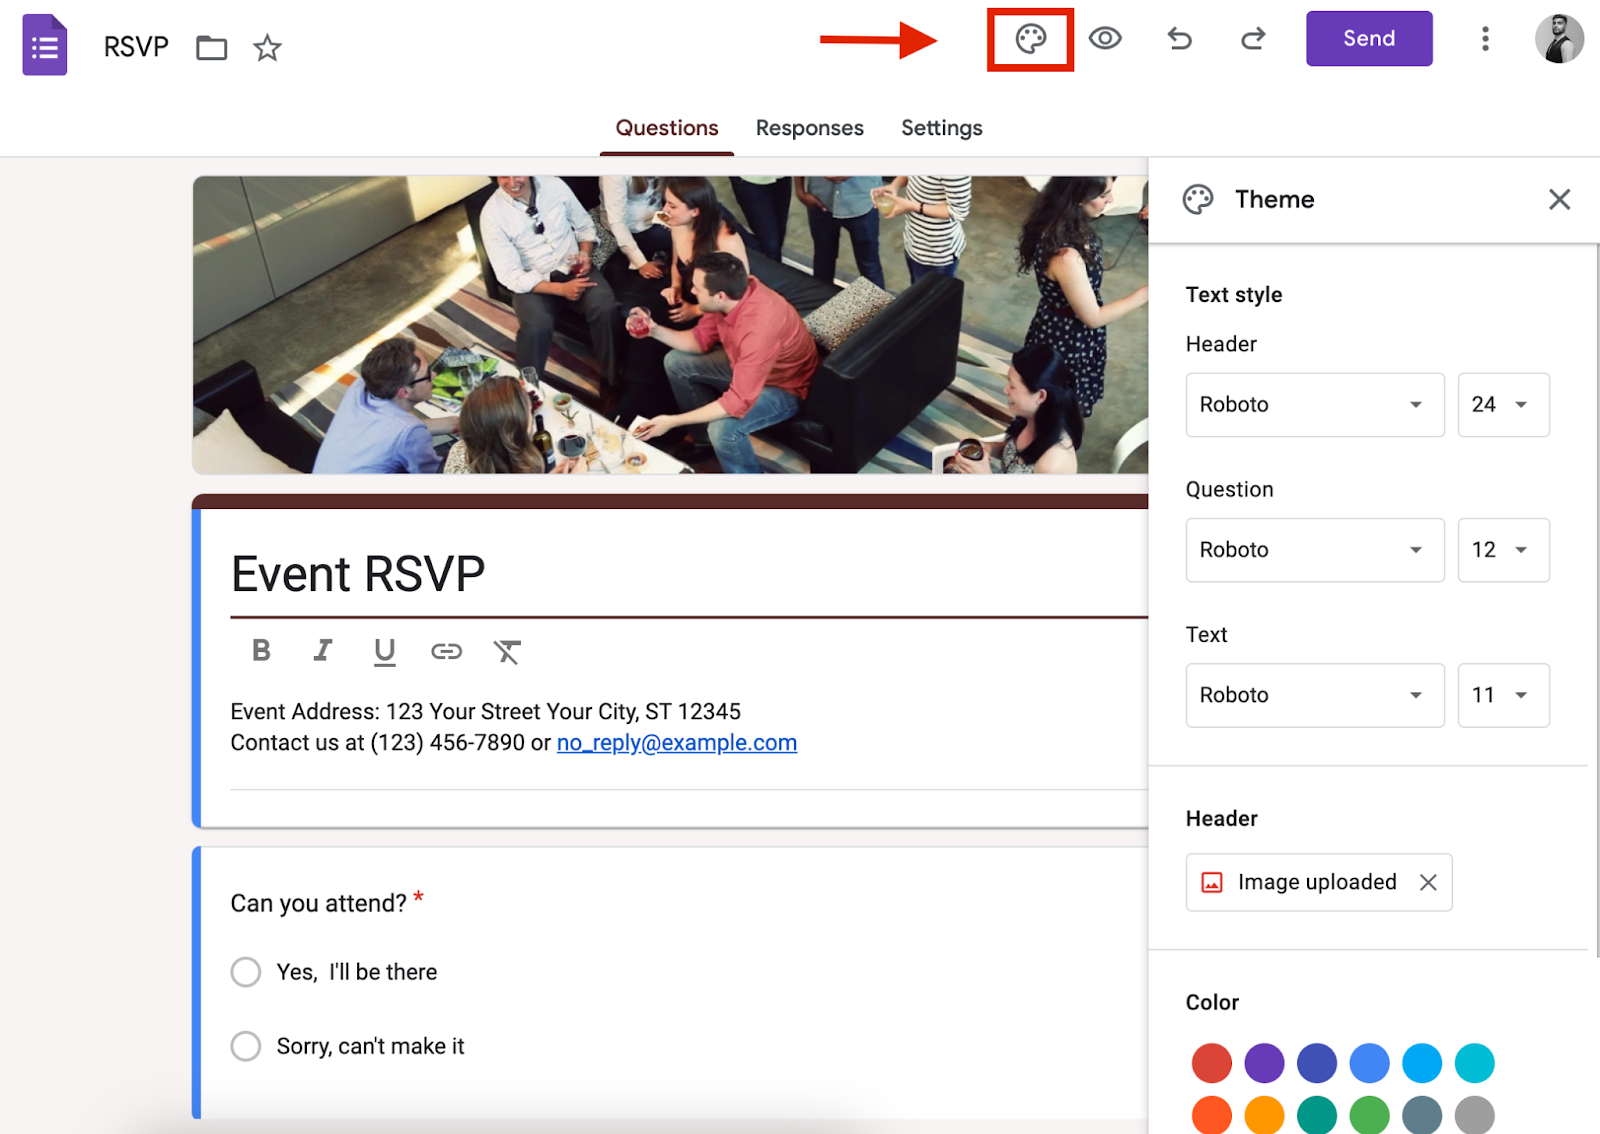
Personalize your form’s appearance by changing the theme. Click on the palette icon at the top right to open the theme options.
Here, you can choose from preset colors or add a custom color to your form. You can also upload a header image that appears at the top of your form and change the fonts throughout.
If you need to change the order of your questions, simply click and drag the question to the desired position.
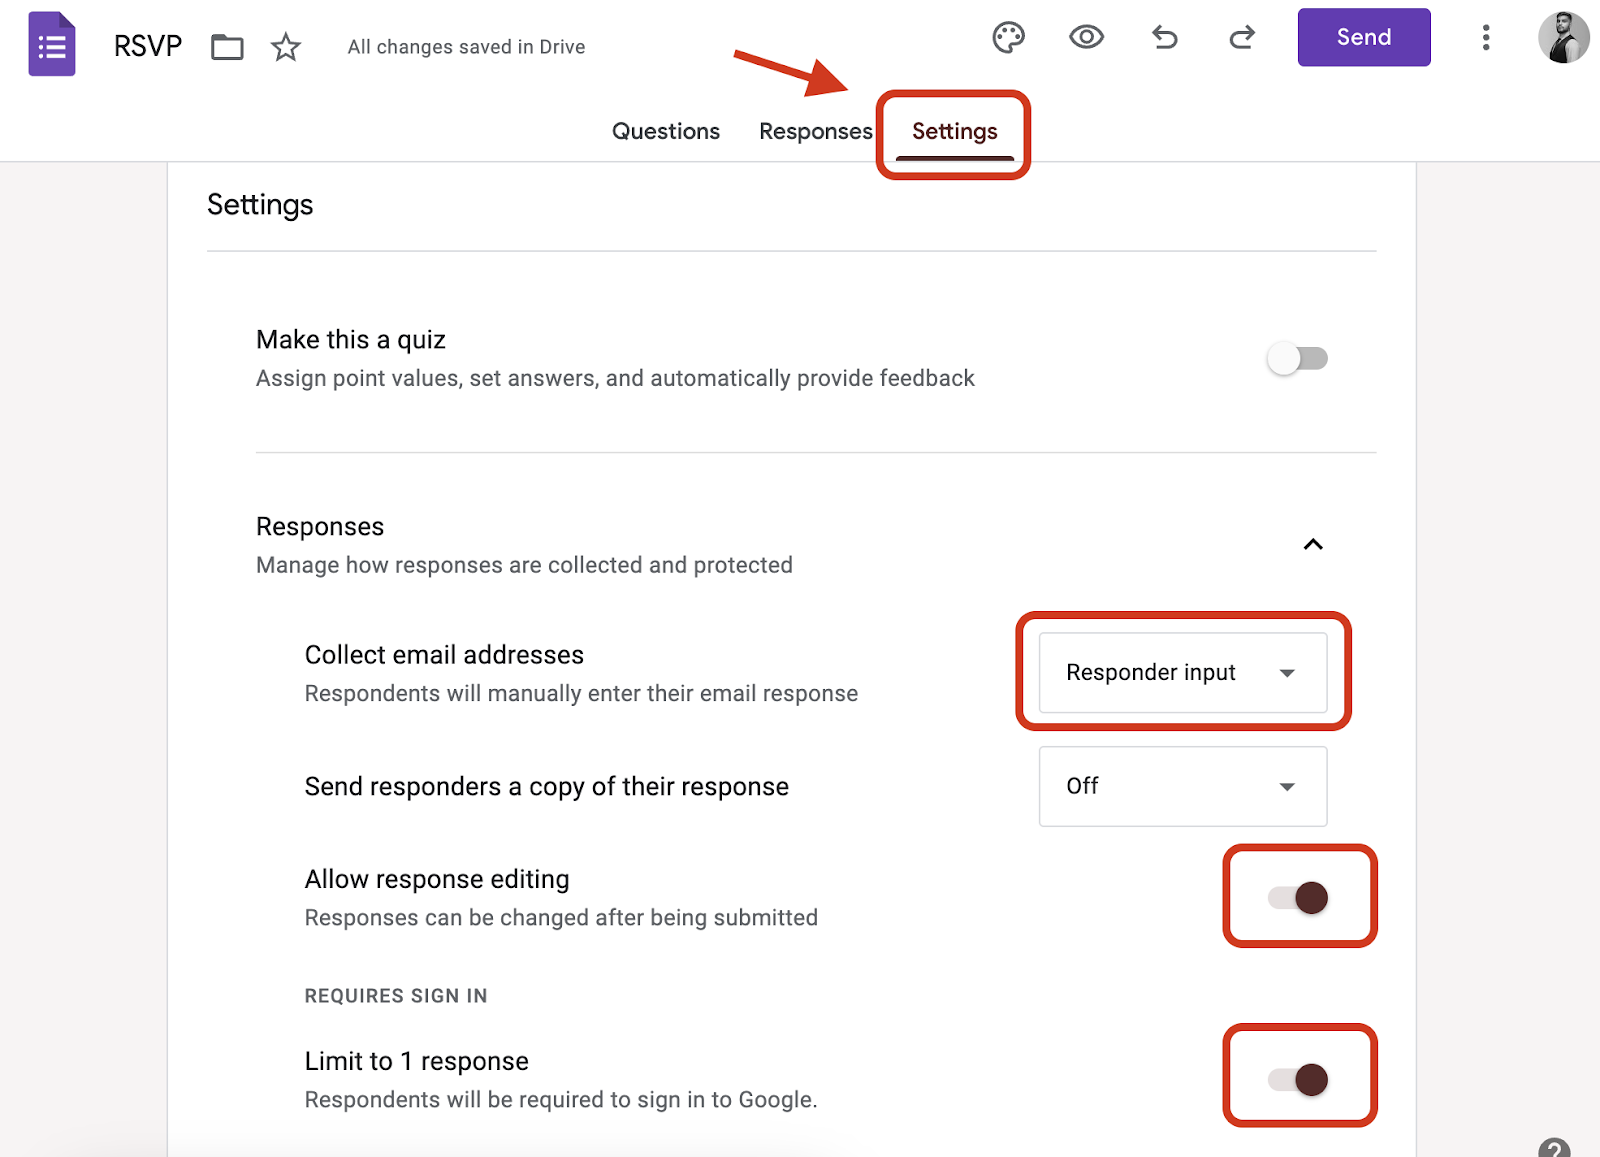
4. Configure your form settings
Go to the settings tab at the top of your form to open the settings menu. Here, you can manage options like collecting email addresses, limiting responses to one per person, and sending respondents a copy of their answers.
In the “Responses” section of the settings tab, from the option “collect email addresses,” select “Responder input” to collect email addresses from respondents so you can send your guests a confirmation email after submitting their RSVP.
Allow respondents to edit their responses after submission by toggling "Allow response editing." This can be helpful if attendees need to update their information, such as changing their RSVP status or the number of guests.
Also, toggle the “Limit to 1 response” option to prevent duplicate submissions, especially if you're expecting a large number of RSVPs.
5. Share your form
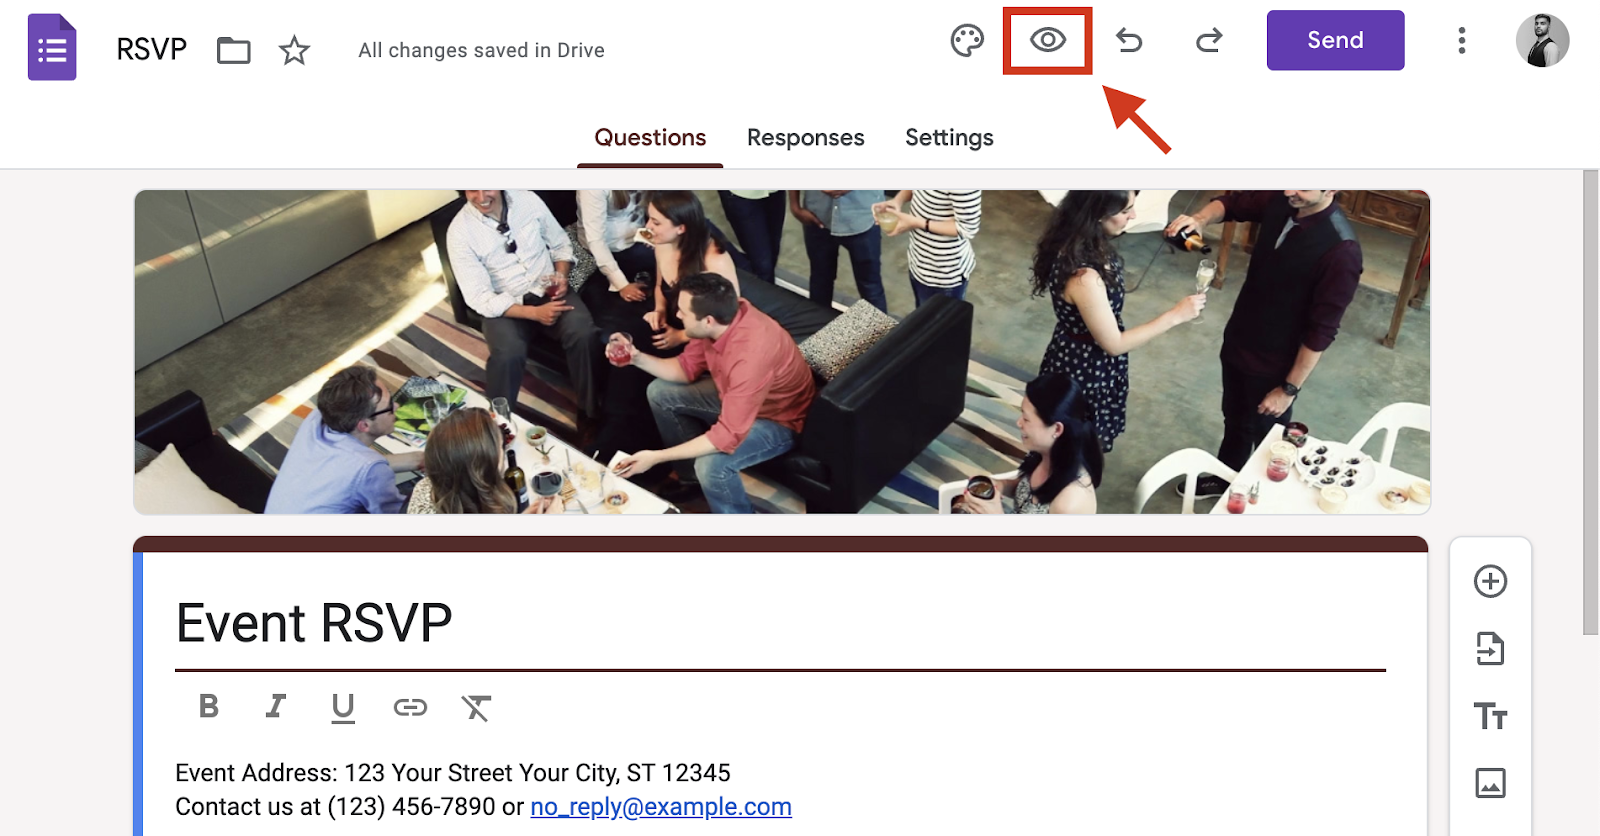
After creating and customizing your RSVP Google form, make sure to preview it to ensure everything looks and functions as intended before sharing it with your guests.
At the top-right corner of the form editor, you'll see an eye icon. Click on it to enter the preview mode. Fill out the google form for RSVP as if you were a respondent.
Check for any errors in question wording or layout. Ensure that required questions are clearly marked, and the flow of questions makes sense.
After confirming that your RSVP form is error-free and user-friendly, share it with your guests.
Here are various sharing options available in Google Forms:
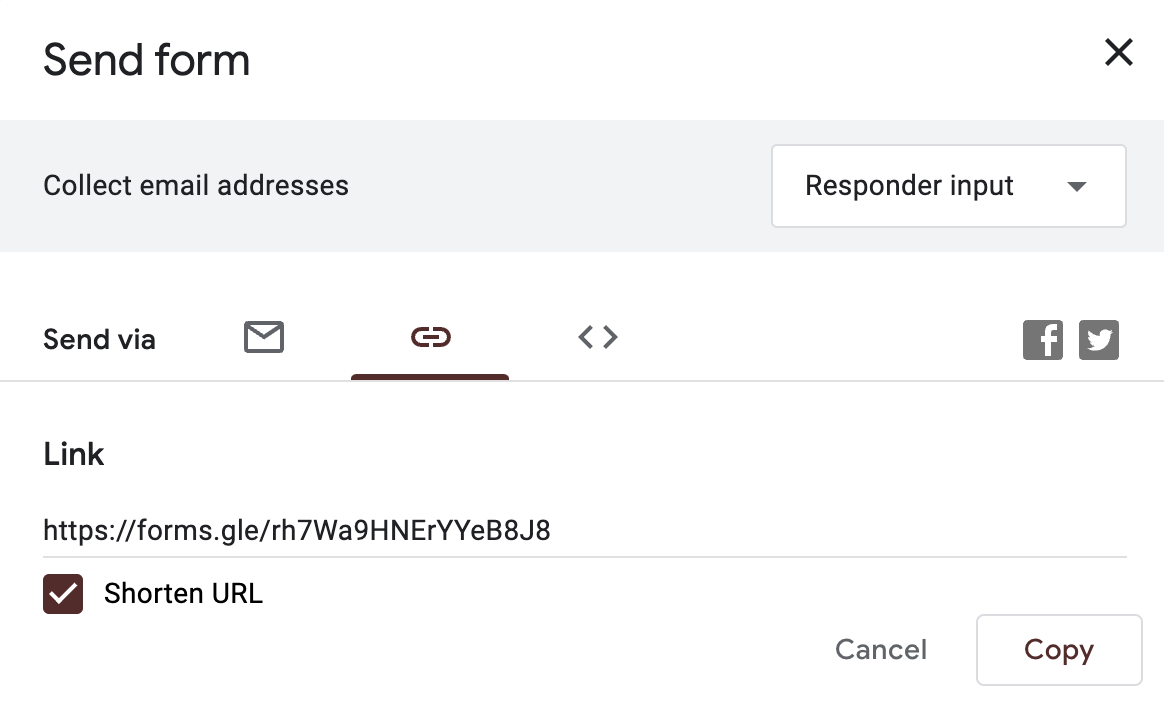
- Share Link: Click on the "Send" button (paper airplane icon) at the top-right corner of the form editor. You'll see a link that you can copy and share via email, social media, or any other platform.
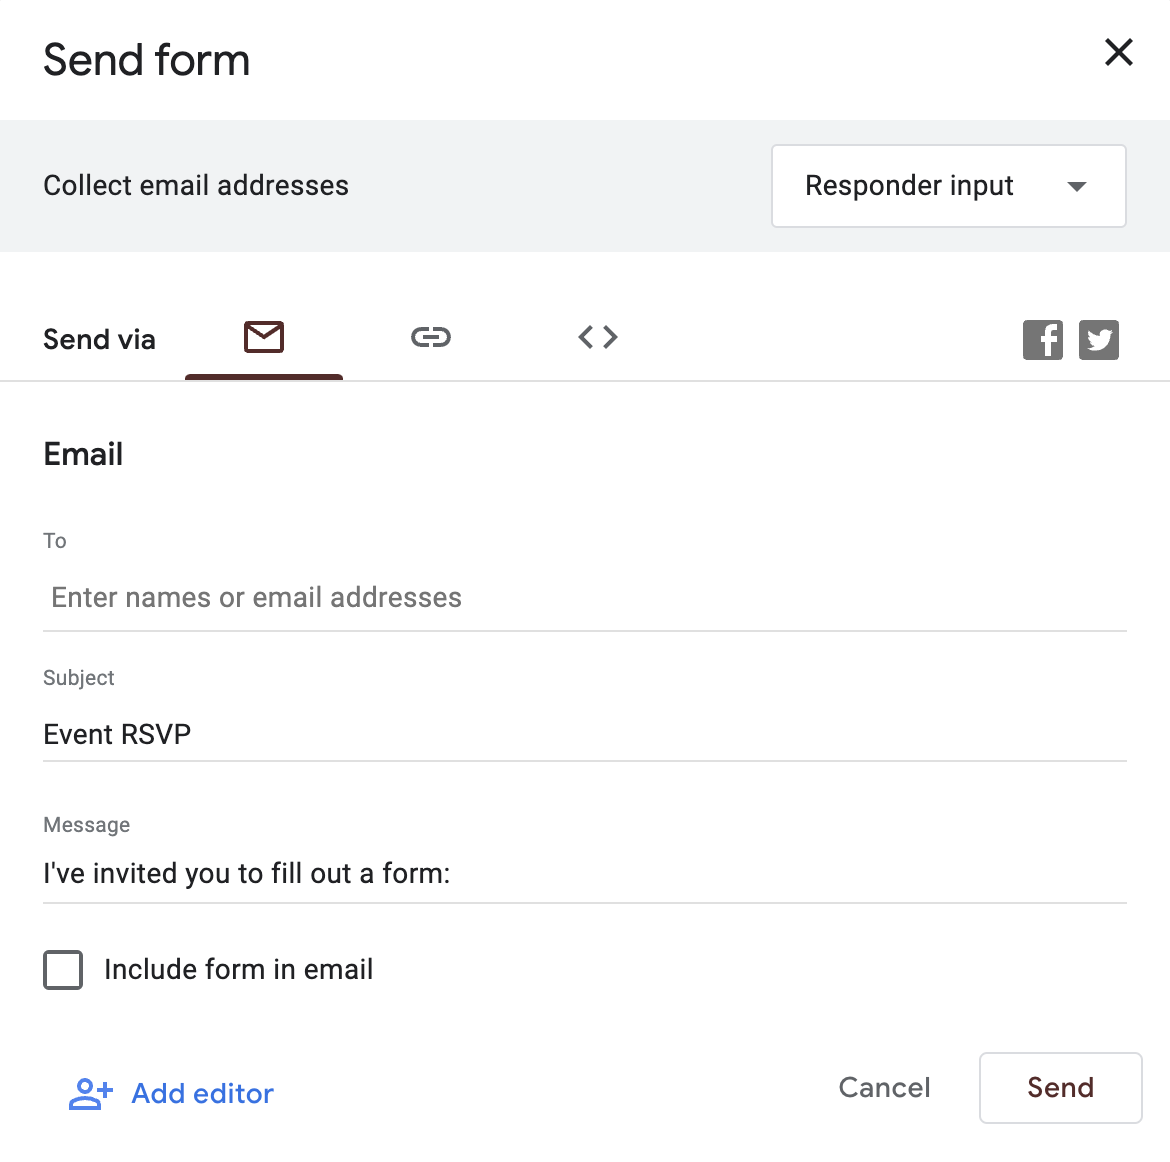
- Email: Google Forms allows you to send the form directly via email. Click on the email icon beside the text “Send via," enter the email addresses of your guests, add a personalized message if desired, and hit send.
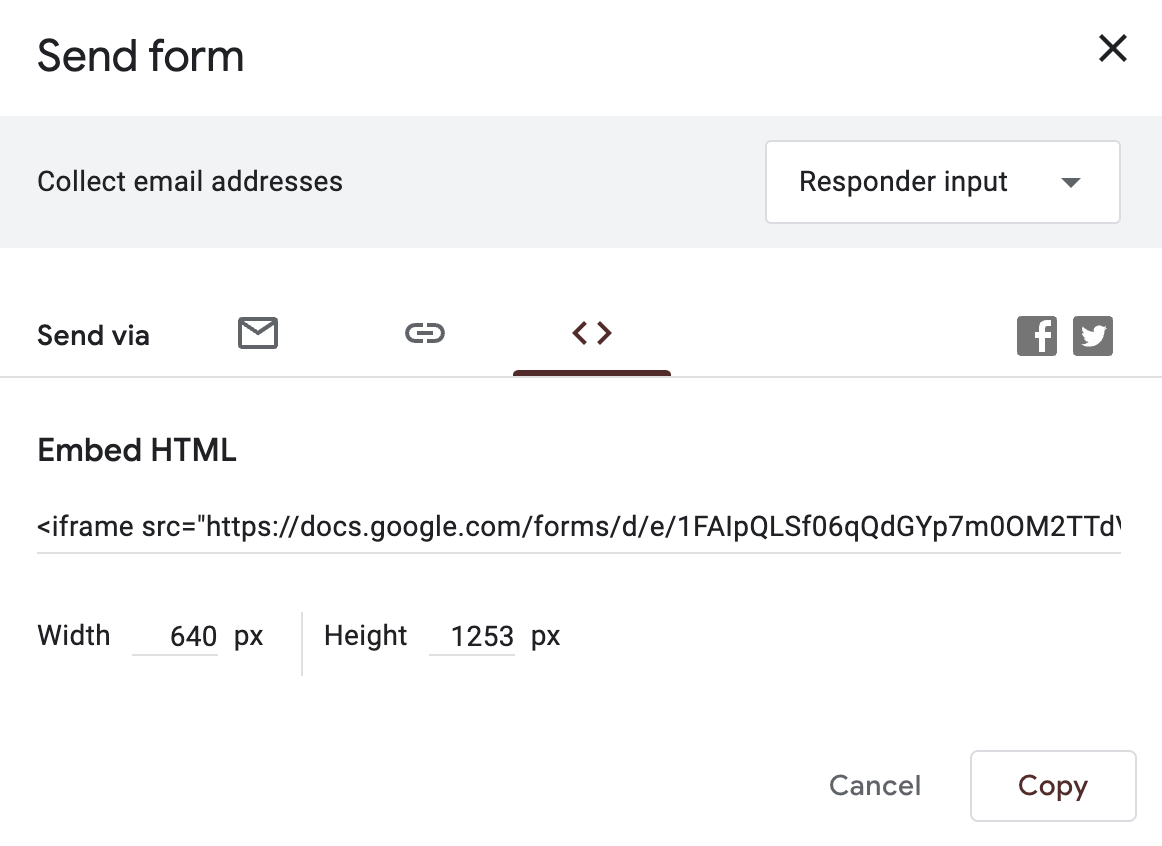
- Embed on Website: If you have a website or blog, you can embed the form directly into a page. Click on the "<>" icon to get the embed code. Copy and paste this code into your website's HTML editor.
6. Manage your responses
Once your RSVP form starts receiving responses, it's essential to manage them effectively to keep track of attendees and any special requirements they might have.
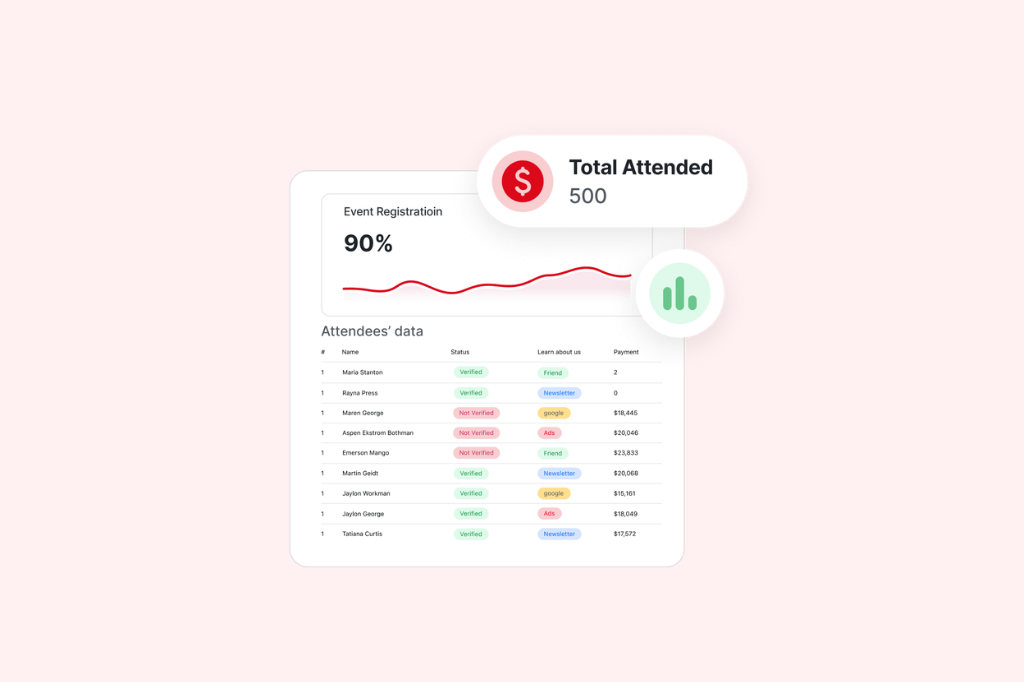
In the form editor, click on the "Responses" tab at the top of the page. Here, you can view a summary of responses, individual responses, and response trends to manage RSVPs.
To analyze responses further or share them with other organizers, you can export responses to a Google Sheets spreadsheet. Click on the Sheets icon at the top-right corner of the responses tab to create a new spreadsheet or add responses to an existing one.

A better tool to create and manage RSVP forms!
Creating an RSVP Google Form is a simple process that can help you a lot in event planning. While Google Forms is a great tool for basic RSVPs, its customization features are limited.
If you're looking for an alternative to Google Forms that offers even more features and customization options, try Formaloo.
With Formaloo, creating RSVP forms is not only easy but also fun. You can choose from a variety of templates, customize the design to match your event's theme, and add interactive elements to make your form engaging.
Plus, Formaloo provides robust tools such as custom reports and dashboards for managing form responses so you stay organized and informed every step of the way.
So why settle for the basic when you can have exceptional? Try Formaloo for free today.


