How to create a course enrollment and assignment submission workflow
Build a complete course enrollment and submission workflow, from sign-up to assignment tracking, all in one connected portal.

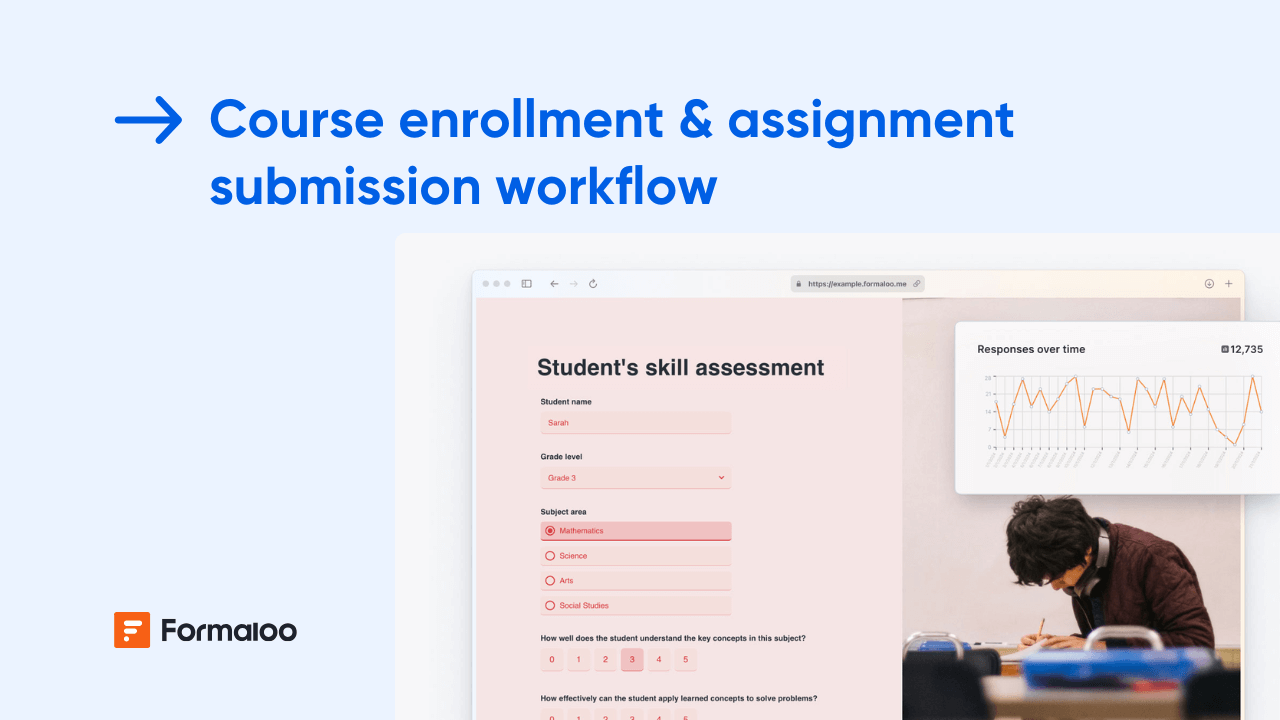
Turn your online courses into an organized, interactive system
In this guide, you’ll create a course enrollment and assignment submission workflow inside Formaloo. Students will be able to enroll in a course, upload their assignments, and track their progress, while instructors manage everything from a central dashboard.
📘 Learn more: Create your first form, app, or portal in a flash
Step 1 — Create your course enrollment form
Start from your workspace and click + New → Form. You can start from scratch or choose the Course Enrollment Form or Course App from the Template gallery.
Or use Magic Create, describe what you need (e.g., “A form where students enroll in a course, then get access to an assignment submission portal”).
Why this matters: the enrollment form is the entry point of your whole learning workflow.
📘 Learn more: How to create a form
Step 2 — Add key enrollment fields
Include all details needed to register learners and connect them to their courses:
- Full name and email
- Course name or ID (dropdown or lookup)
- Preferred schedule
- Level or experience
- Payment proof or fee confirmation (file upload)
- Status (default = Pending approval)
💡 Tip: You can use reservation limits to cap seats in each course automatically.
📘 Learn more: How to limit availability with Formaloo’s reservation option
Step 3 — Automate enrollment approvals
Open Settings → Advanced logic, and define your enrollment flow:
- If payment confirmed → Set Status = Enrolled
- If course = Design Basics → Assign to Instructor A
- If seat limit reached → Redirect to waitlist form
Why this matters: automated approvals and assignments save time and prevent errors.
📘 Learn more: How to create an approval form
Step 4 — Send welcome and enrollment emails
Go to Settings → Advanced logic or notify tab to set up custom emails:
- Send a welcome email once enrollment is approved.
- Include course details, start date, and instructor contact.
- Use fields IDs like @full_name and @course_name to personalize content.
- Optionally attach a course guide or policy PDF.
📘 Learn more: How to create and send custom email templates
Step 5 — Create your assignment submission form
Next, build a new form called “Assignment Submission.”
Include fields such as:
- Student name and email (prefilled with profile field)
- Course name (lookup from enrollment form)
- Assignment title
- File upload (PDF, image, document)
- Submission date (auto-filled)
- Instructor feedback and grade (admin-only field)
💡 Tip: Connect this form to your enrollment form using linked rows so each submission is tied to the correct student.
📘 Learn more: What are linked rows and how to use them
Step 6 — Add scoring and grading logic
In the assignment form, use variable fields to calculate grades or completion status.
Examples:
- If @score ≥ 80 → Set status = Passed
- If @score < 50 → Show “Resubmit required” message
- Add a total score variable combining all grading criteria.
📘 Learn more: How to add and calculate scores using variable fields
Step 7 — Build your student portal
From your project, click and turn it to a portal.
Add pages such as:
- Enrollment form
- Assignments (submission view)
- My grades (filtered table linked to user login)
- Course materials (embed videos, PDFs, or external links)
Restrict access so:
- Students see only their own data and submissions.
- Instructors can view all submissions and grades.
📘 Learn more: How to create a portal and manage users’ access
Step 8 — Add dashboards for instructors
Open your Results → Responses tab to visualize course data:
- Table view for managing submissions.
- Kanban view grouped by Status (Pending, Graded, Resubmitted).
- Charts for tracking average scores per course or completion rate.
📘 Learn more: How to create a Kanban board
Step 9 — Automate feedback emails
Set up conditional notifications so that:
- Instructors get notified when new submissions arrive.
- Upon grading, students receive automatic feedback emails with scores.
📘 Learn more: How to send and receive conditional email notifications
Step 10 — Enhance your workflow with AI tools
Use Formaloo’s AI features to improve both student and instructor experience:
- AI Smart Content to rewrite course instructions clearly.
- AI Email Assistant to generate personalized feedback emails.
- AI Analyze to review overall performance and identify trends in submissions.
📘 Learn more: Uncover insights and trends in your data with AI Analyze
Pro tips
- Use Memory Forms so students’ details auto-fill in every submission.
- Add custom PDFs for certificates or progress reports.
- Duplicate this setup for new courses in minutes.
📘 Learn more: What are Memory Forms
Example scenario
A new student fills out the enrollment form for Digital Marketing 101. Their payment is confirmed, and they receive an automated welcome email with their start date. Once enrolled, they log into the student portal, access course materials, and submit assignments. The instructor reviews submissions, grades them, and Formaloo automatically emails personalized feedback and updates the student’s grade dashboard.
📘 Learn more: How to create a course app
FAQ
- Can students resubmit assignments?
Yes, enable editing for submitters. - Can I issue certificates automatically?
Yes, connect a custom PDF template to generate and email certificates upon completion.
📘 Learn more: How to generate custom PDFs using templates
Your learning workflow is live, now scale it
You’ve built a full enrollment-to-submission workflow where every step runs smoothly, from registration to grading and reporting. Continue evolving your setup with new courses, dashboards, and automation rules as your academy grows.
📘 Learn more: Build personalized and time-saving flows with logic, automations, and AI
Last updated October 2025