How to create a loan application workflow for financial services
Build a secure, multi-step loan application workflow with automated verification, approval routing, and applicant notifications.

.jpg)
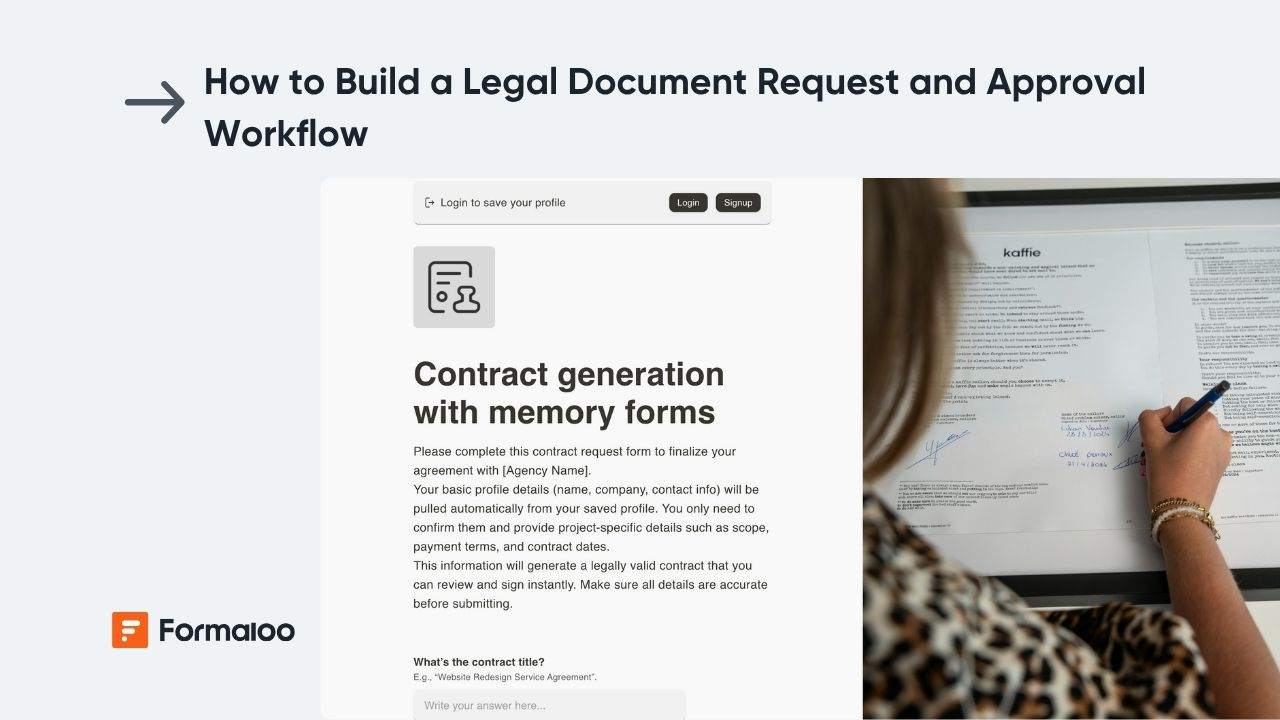
Streamline your loan process from application to approval
In this guide, you’ll create a Loan Application Workflow that captures borrower details, verifies eligibility, and routes applications for approval automatically.
You’ll use multiple forms, logic, and status tracking to move each loan request through distinct stages, from submission to funding, while keeping data organized and compliant.
📘 Learn more: Create your first form, app, or portal in a flash
Step 1: Create your loan application form
From your workspace, click + New → Form, or choose Budget request approval portal template from the gallery.
For the fastest start, you can also use Magic Create, try this prompt:
“Loan application form with applicant details, financial info, and automatic approval routing.”
Add the following fields:
- Applicant full name
- Email and phone number
- National ID or customer number
- Loan type (Personal / Business / Mortgage / Auto)
- Requested amount
- Purpose of loan
- Monthly income and employment details
- Supporting documents (File upload)
- Signature field for consent
- Application status (Pending / Under review / Approved / Rejected)
💡 Tip: Use multi-step pages for smoother flow — for example:
1️⃣ Personal info → 2️⃣ Financial info → 3️⃣ Document upload → 4️⃣ Confirmation
📘 Learn more: How to add a new page to single step classic form
📘 Learn more: Form editor and field types
Step 2: Set up logic for loan type–specific questions
Use Show/Hide logic to display additional questions based on the loan type selected.
Examples:
- If @loan_type = “Business” → show “Business registration number” and “Company financials.”
- If @loan_type = “Mortgage” → show “Property value” and “Collateral details.”
💡 This makes the experience simple and tailored to each applicant’s needs.
📘 Learn more: How to use show hide logic in classic forms
Step 3: Validate eligibility and calculate ratios
Add Variable fields to automatically calculate loan-to-income or debt-to-income ratios.
Example formula:
(@requested_amount / @monthly_income) * 100
You can then use logic rules to flag risky applications:
- If @debt_ratio > 40 → show “Your loan exceeds the recommended limit.”
📘 Learn more: How to use a variable with a formula
Step 4: Set up automated notifications for your credit team
Create Conditional Email Notifications so each loan type routes to the right reviewer.
Examples:
- If @loan_type = “Mortgage” → send to mortgage.team@bank.com
- If @loan_type = “Business” → send to sme.review@financegroup.com
Include dynamic data in the message:
Loan type: @loan_type
Amount requested: @requested_amount
Applicant: @name
📘 Learn more: How to send and receive conditional email notifications
Step 5: Send confirmation emails to applicants
Create a custom email template confirming submission and next steps.
Example:
Subject: Your loan application has been received
Hi @name,
Thank you for applying for a @loan_type loan with us.
Our credit team will review your application and update you soon.
— @organization_name Team
📘 Learn more: How to create and send custom email templates
step 6: Add loan review fields for internal staff
Add internal-only fields for:
- Assigned reviewer
- Credit score or rating
- Risk assessment notes
- Approval decision (Approve / Reject / Request more info)
- Comments for applicant
- Final approved amount
step 7: Automate status updates
Use On update logic in your review form to change the status automatically and notify applicants.
Examples:
- If @decision = “Approved” → set @status = “Approved” and send “Your loan has been approved.”
- If @decision = “Rejected” → set @status = “Rejected” and send “Unfortunately, your application didn’t meet our criteria.”
📘 Learn more: What is on update logic and how it works
Step 8: Visualize applications and approval trends
Go to Results → Dashboard to build your loan management view.
Add:
- Table view: All loan applications with statuses
- Kanban board: Applications grouped by stage (Pending / Under review / Approved / Rejected)
- Pie chart: Loan types by percentage
📘 Learn more: How to create a Kanban board
📘 Learn more: How to showcase charts based on form responses
Step 9: Build a secure loan management portal
Turn your setup into a Loan Management Portal App where applicants, loan officers, and managers can each view their relevant data.
Add pages for:
- Apply for a loan — public or logged-in form
- My applications — filtered view for applicants
- Review center — for credit officers
- Loan analytics dashboard — for management
Enable Login/Sign-up and assign roles (Applicant, Reviewer, Admin) to control access and visibility.
📘 Learn more: How to create and assign user roles in your portal
📘 Learn more: How to let users view and edit their own data in your portal
Step 10: Generate loan approval documents automatically
Once a loan is approved, use PDF templates to create professional approval letters or agreements dynamically.
Include:
- Applicant name
- Approved loan amount
- Terms and repayment schedule
- Digital signature section
Attach the generated PDF to the approval email or archive it for compliance.
📘 Learn more: How to create PDF templates to turn responses into documents
Pro tips
- Add verification checks: Use logic to request ID uploads only for certain loan types or thresholds.
- Integrate Google Sheets or CRM: Sync applications with your internal finance system.
📘 Learn more: How to set up two-way sync between Formaloo and Google Sheets - Enable autosave: Let applicants pause and resume applications easily.
📘 Learn more: How to auto save incomplete responses and let users resume later - Use AI Smart Content: Auto-summarize loan officer notes or generate applicant feedback summaries.
📘 Learn more: Create dynamic ending pages with AI Smart Content
Example scenario
A customer submits a personal loan request for €10,000.
The application routes automatically to the Credit Team.
The reviewer checks financial info, approves €8,000, and marks it as Approved.
Formaloo sends the applicant an approval email with the attached agreement PDF, and the loan dashboard updates in real time.
📘 Learn more: Build personalized and time-saving flows with logic, automations, and AI
FAQ
1. Can I collect eSignatures for loan agreements?
Yes. Add a Signature field to your approval step or include a signature block in your generated PDF.
❓ Learn more: How to create PDF templates to turn responses into documents
2. Can I restrict loan review access to internal staff only?
Absolutely. Use portal roles and permissions to make reviewer pages visible only to internal reviewers or admins.
🔒 Learn more: How to create a portal and manage users' access
3. Can I handle multiple branches or regions in one loan workflow?
Yes. Add a Branch/Region field and use filters in dashboards and views to sort submissions by location.
🛠️ Learn more: How to customize tables, kanbans, charts, and galleries
Your loan application system is ready
You’ve built a secure, automated loan workflow that captures applications, verifies eligibility, and manages approvals end-to-end.
Next, expand it into a Financial Services Portal with repayment tracking, client dashboards, and compliance reports.
📘 Learn more: How to customize your portal with your brand identity
Last updated November 2025
.jpg)
.jpg)