
How to create a multi-page adaptive intake form with personalized follow-up emails
Build a dynamic multi-page intake form that changes questions based on each client’s needs, service type, or preferences.

Build an adaptive intake flow that personalizes the user journey
An intake form can be more than a simple questionnaire, when powered by Formaloo, it becomes a dynamic flow that adapts to each user’s answers, displays only relevant pages, and automatically sends personalized follow-up emails.
In this guide, you’ll create a general-purpose intake form that:
- Uses multi-page branching to adapt to different user types
- Shows or hides pages based on previous answers
- Sends personalized follow-up emails to respondents
- Notifies internal teams when specific categories are selected
- Uses admin-only fields to manage review, priority, or next steps
📘 Learn more: Create your first form, app, or portal in a flash
Why this helps
- Reduces unnecessary questions and creates a clean, guided experience
- Automates follow-ups so you don’t send the same email to every respondent
- Helps teams instantly route submissions to the right department
- Offers flexibility for any industry: client onboarding, service request, consultation, application, feedback, and more
- Enables internal triage through admin-only fields, no second form needed
📘 Learn more: Build personalized and time-saving flows with logic and automation
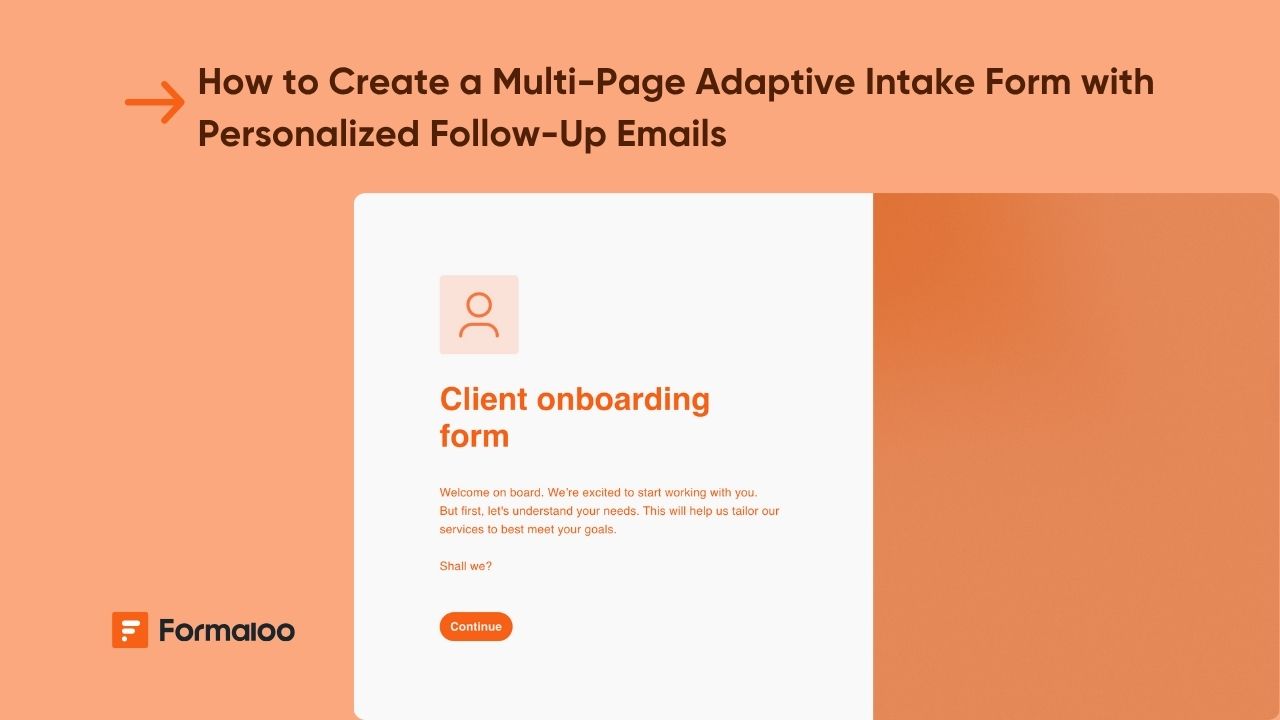
Step 1 – Create your adaptive intake form
You can start from scratch or use a template from our Template Gallery (e.g., “Client project,” “Service Request") or use Magic Create with a prompt like:
“Create a multi-page adaptive intake form with user type selection, conditional questions, and personalized follow-up emails.”
Suggested structure:
- Page 1 — Basic information
Name, email (ID: field_email), phone, company (if relevant) - Page 2 — User category
“What best describes you?” → Customer, Partner, Applicant, Student, Other - Page 3 — Category-specific questions
Displayed conditionally using Field Logic - Page 4 — Additional details
Uploads, descriptions, requirements, or attachments - Page 5 — Confirmation & consent
💡 Tip: Break long processes into pages to increase completion rates.
📘 Learn more: Form editor and field types
Step 2 – Add conditional page logic to adapt the flow
Open your form → Settings → Advanced Logic (Field ) → Add rules to show or hide pages.
Examples you can use:
- If User type = Customer, show Customer Needs page
- If User type = Partner, show Partnership Requirements page
- If User selects “Yes” to needing support, show Support Details page
- If upload required? = No, hide upload field/page
💡 Tip: Combine 2–3 conditions to create advanced branches for different user journeys.
📘 Learn more: Show or hide questions based on previous answers
Step 3 – Add admin-only fields for internal handling
Add fields such as:
- Submission category (dropdown)
- Assigned team member
- Priority (Low/Medium/High)
- Review notes (long text)
Mark them as Admin Only so they appear when your team opens a submission but remain hidden from respondents.
💡 Tip: Use an On Update logic rule to notify a teammate when the “assigned team member” field is changed.
📘 Learn more: What is “On Update” logic and how it works
Step 4 – Build custom ending pages for each user type
Create multiple ending pages, such as:
- Customer success message
- Partner application received
- Support ticket created
- General response confirmation
Then create On Submit logic:
Example rules:
- If User type = Customer → Show Customer message ending page
- If User type = Partner → Show Partner acknowledgment ending page
- If Issue severity high → Show Priority guidance ending page
- Otherwise → Default ending page
📘 Learn more: How to set up multiple ending pages with redirect logic
Step 5 – Personalize follow-up emails to users (On Submit logic)
In Settings → Advanced Logic → On Submit, add email automation.
Examples:
1. General intake confirmation (sent to all users)
Condition: Always
Action: Send Email
To: @field_email (use field ID)
Email includes:
- User name (
@field_name) - Selected category
- Summary of their responses
- Next-step instructions
2. Customer-specific follow-up
Condition: If User type = Customer
Message: “Thanks, @field_name. We’ve received your request and will follow up with a tailored plan shortly.”
3. Partner-specific follow-up
Condition: If User type = Partner
Message: “Your partnership inquiry has been received. Our team will review your details and get back to you.”
4. Support escalation
Condition: If Issue severity ≥ 7
Message: “We noticed your issue may need immediate attention…”
💡 Tip: Use field IDs (not variables) to personalize content safely and consistently.
📘 Learn more: How to send and receive email notifications
Step 6 – Notify internal teams automatically
Still in On Submit logic, add rules that send emails to team members based on conditions.
Examples:
- Send support request to support@company.com if Issue Type = “Technical”
- Send partnership applicant details to partnerships@company.com if User type = Partner
- Send high-priority requests to manager@company.com if severity ≥ 7
- Send job application summary to HR if User type = Applicant
Internal emails usually include:
- Submission summary
- Selected category
- Attachment links
💡 Tip: Use multiple internal emails, each for a different category.
📘 Learn more: What is “On Submit” logic and how it works
Step 7 – Optional: Redirect users to the next action (Calendly, page, portal)
You can redirect users after submission using:
- A web page URL
- Calendly scheduling link (with field IDs prefilled)
- Another page in your Formaloo app
- A custom thank-you page
Example:
If User type = “Customer” → Redirect to booking calendar after submission.
📘 Learn more: Calendly integration in Formaloo
Pro tips
💡 Pro Tip 1: Add variable fields to score users and personalize follow-ups even more.
📘 Learn more: How to calculate multiple scores using variable fields
💡 Pro Tip 2: Turn your intake into a full onboarding portal where users can log in and access more forms.
📘 Learn more: How to create a portal and manage users’ access
💡 Pro Tip 3: Visualize intake submissions by category using charts or Kanban boards in an app page.
📘 Learn more: How to showcase charts based on form responses
Real-world example
A consulting agency built a multi-page adaptive intake form to categorize leads into “Project,” “Partnership,” and “Support” categories. Personalized email rules reduced manual follow-ups by 80%, while internal routing helped each team handle only relevant submissions. Their Kanban-based dashboard now organizes submissions by category and priority.
📈 See more examples: Formaloo use cases
FAQ
1. Can I reuse this same form for multiple use cases?
Yes. The dynamic branching allows a single intake form to cover many workflows.
❓ Learn more: Customize your form/app layout and design
2. Can users edit their submissions later?
Yes, if the form is embedded in a portal where users log in.
🔒 Learn more: How to add user roles on your portal
3. Can I trigger multiple emails based on different conditions?
Absolutely. Each On Submit rule can send one or more emails based on answer conditions.
🛠️ Learn more: How to add advanced logic to your form
4. Does this work for job applications, onboarding, or feedback flows?
Yes. This adaptive structure is general-purpose and works for any intake scenario.
📘 Learn more: What is Formaloo?
5. Can I add file uploads or signatures?
Yes, Formaloo supports upload fields, signatures, and conditional pages.
📘 Learn more: Form editor and field types
Next step: Turn your intake into a full workflow
Once your adaptive form is ready, turn it into a full onboarding or request-handling workflow with dashboards, portals, and task assignment.
🎉 Learn more: Expand your workflow in Formaloo
Last updated November 2025
.jpg)
.jpg)

.jpg)


