How to create a multi-step registration form for events or courses
Build a smooth, multi-step registration form that captures attendee details, sessions, and payments while keeping users engaged and organized.

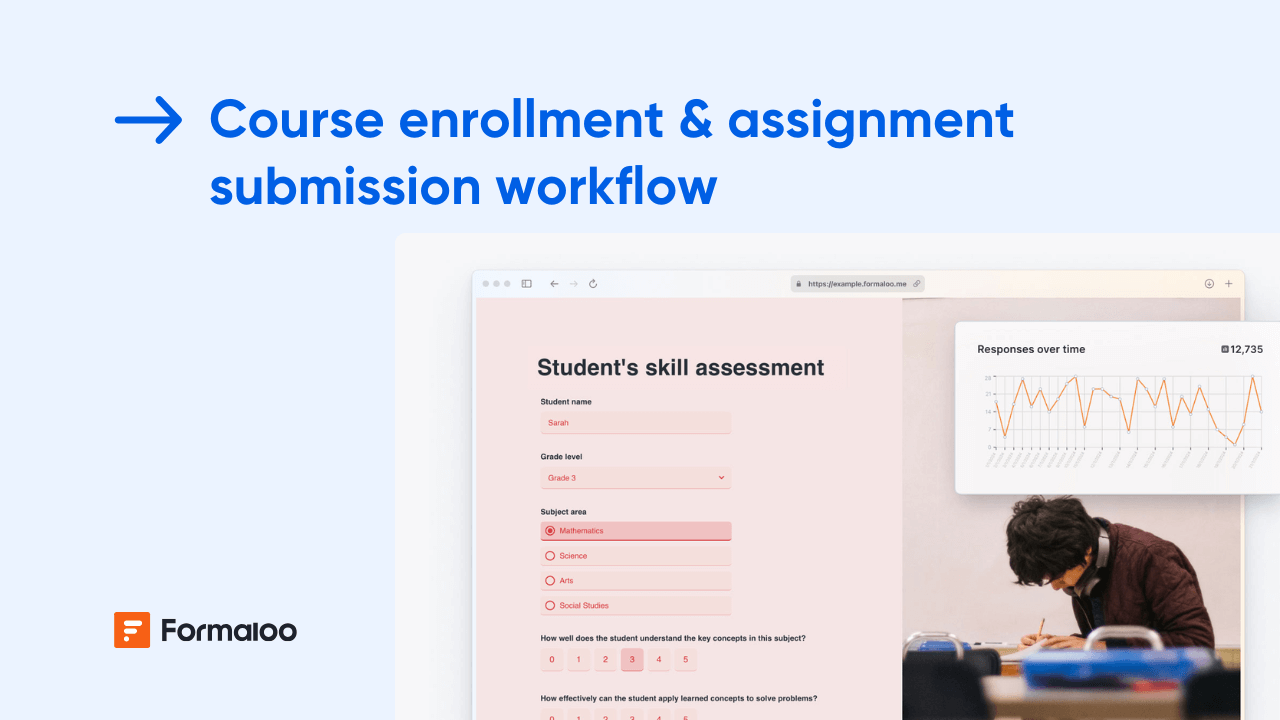
.jpg)
Make registration effortless and organized
In this guide, you’ll create a multi-step registration form for events or courses that guides users through logical sections, personal details, preferences, payment, and confirmation. You’ll use page breaks, logic, and auto-confirmations to ensure a frictionless signup experience.
📘 Learn more: Create your first form, app, or portal in a flash
Step 1 — Create your registration form
Start from your workspace and click + New → Form. You can start from scratch or pick an Event Registration or Course Enrollment template from the Template gallery.
Or use Magic Create, describe what you want, for example:
“A multi-step registration form for a workshop that includes attendee info, session choices, and payment.”
Why this matters: the structure defines how your form flows, simple for attendees, detailed for organizers.
📘 Learn more: How to create a form
Step 2 — Add sections for each registration step
Think of each form page as a short, focused step. For example:
Page 1: Attendee details
- Name
- Email
- Phone number
Page 2: Event or course selection
- Event name or session choice (dropdown)
- Schedule or track (single choice)
- Special requests (long text)
Page 3: Payment details (optional)
- Ticket type (Basic, VIP, Student)
- Price field (auto-calculated variable)
- Promo code
Page 4: Confirmation and review
- Summary message
- Terms & conditions agreement
- Submit button
💡 Tip: Use short sections per page (3–5 questions) to improve completion rates.
📘 Learn more: How to add a new page to single-step classic form
Step 3 — Add logic for personalized registration paths
Use Settings → Advanced logic to make the form adapt based on answers.
Examples:
- If Event type = Online → Hide venue address section.
- If Ticket type = VIP → Show meal preferences + workshop add-ons.
- If Promo code = STUDENT → Apply 50% discount variable.
💡 Pro tip: keep logic modular, one rule per goal, to make editing easier later.
📘 Learn more: How to add advanced logic to your form
Step 4 — Auto-calculate pricing (optional)
Add variable fields to calculate ticket totals or discounts automatically.
Example formula:
@total = @ticket_price * @quantity - @discount
Show the total price on the last page using a content block:
“Your total is $@total.”
📘 Learn more: How to use a variable with a formula
Step 5 — Add payment integration (if needed)
Include a Payment if your event or course has fees.
- Choose your currency.
- Connect your preferred payment gateway.
- Optionally add taxes or service fees via variable formulas.
📘 Learn more: How to create an order form with online payment
Step 6 — Set up confirmation emails and tickets
Go to Settings → Advanced logic or Notify tab to set up automatic responses:
- Send a confirmation email with event details and payment summary.
- Attach a custom PDF ticket or invoice.
- Notify your organizing team of new registrations.
💡 Tip: Use variables like @event_name, @attendee_name, and @total_price for personalized messages.
📘 Learn more: How to create and send custom email templates
Step 7 — Create your event dashboard
In your Results → Responses tab, visualize all registrations:
- Table view: see attendee info and payment status.
- Kanban view: group by ticket type or session.
- Charts: view attendance trends or ticket sales.
📘 Learn more: How to showcase charts based on form responses
Step 8 — Build a participant portal (optional)
Create a portal for your attendees or team.
- Add pages like My registration, Schedule, Resources, Submit assignment (if course).
- Restrict access by login so each participant only sees their own data.
📘 Learn more: How to create a portal and manage users’ access
Step 9 — Use AI to analyze and improve
Enable AI Analyze to summarize insights from registration data, such as:
- Top ticket types purchased
- Most popular course sessions
- Attendance patterns by region
📘 Learn more: Uncover insights and trends in your data with AI Analyze
Pro tips
- Add Memory Forms so returning users’ details autofill.
- Include conditional redirection to different thank-you pages by ticket type.
- Duplicate this form for future events and simply update the content.
📘 Learn more: What are Memory Forms
Example scenario
A participant fills in their details, selects “Advanced Workshop,” and chooses two sessions. The form shows total cost instantly and directs them to payment. Once submitted, Formaloo sends a personalized confirmation email with a PDF ticket and updates your dashboard in real time under Paid Registrations.
📘 Learn more: How to set up multiple ending pages with redirect logic
FAQ
- Can I let users save progress and continue later?
Yes, enable autosave so users can resume incomplete forms via a link.
📘 Learn more: How to auto save incomplete responses and let users resume later - Can I limit the number of available seats or tickets?
Absolutely, use reservation limits for event capacity.
📘 Learn more: How to limit availability with Formaloo’s reservation option - Can I offer multiple sessions or tracks in one form?
Yes, use multi-choice fields with conditional logic or separate pages for each track.
Your registration form is live, now let it run itself
You’ve built a user-friendly, multi-step registration system that adapts to users, collects payments, and keeps your team in sync. Reuse and refine this setup for every event or course to save hours and deliver a smoother registration experience.
📘 Learn more: Build personalized and time-saving flows with logic, automations, and AI
Last updated October 2025