How to build a customer portal with prefilled forms and data blocks
Create a customer portal where each client can log in, view their data, and submit prefilled forms connected to real-time dashboards.

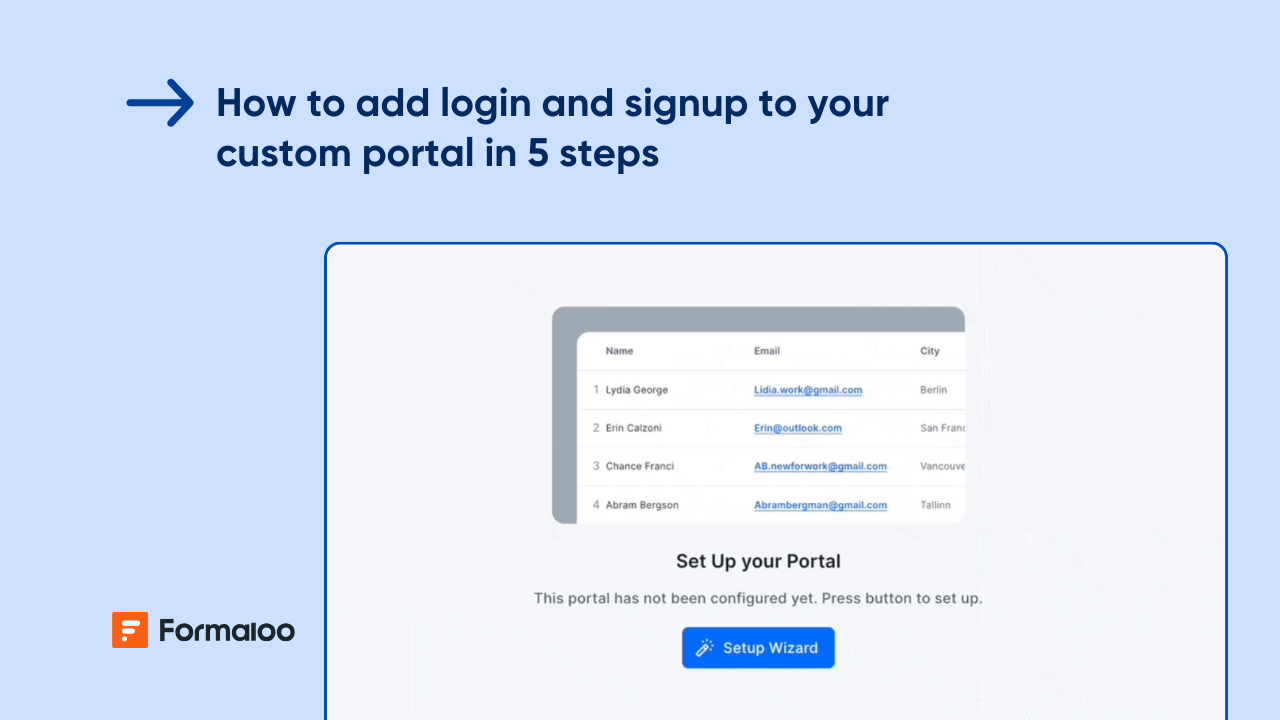
.jpg)
Give every customer their own personalized space
In this guide, you’ll build a customer portal that allows clients to log in, view their records, update details, and submit new requests through prefilled forms and linked data blocks, all synced automatically. This is perfect for agencies, service providers, or account managers who need client-facing dashboards with zero manual updates.
📘 Learn more: Create your first form, app, or portal in a flash
Step 1 — Create your customer data form
Start from your workspace and click + New → Form. You can start from scratch or choose the Client portal template from the Template gallery.
Or use Magic Create, describe your goal:
“A client profile form that stores customer information and links with other project and request forms.”
Why this matters: this form will act as your customer database, powering all prefilled and personalized portal content.
📘 Learn more: How to create any form using Magic Create in Formaloo
Step 2 — Add core customer details
Include fields that help you identify and segment clients:
- Customer name / company name
- Email address
- Assigned account manager
- Service type or plan
- Start date / renewal date
- Status (Active / Inactive / On hold)
- Notes or summary
💡 Tip: Mark the email field as unique, this makes linking and prefilling easier later.
📘 Learn more: Form editor and field types
Step 3 — Link your customer database to other forms
If you have other forms like Service Requests, Invoices, or Feedback, connect them with your Customer Directory form using linked rows.
For example:
- Each customer record shows their linked service requests.
- Each request automatically references the customer’s profile data.
📘 Learn more: What are linked rows and how to use them
Step 4 — Enable Memory Forms for prefilled submissions
Turn on Memory Forms so returning users see their existing data prefilled in forms. This ensures that when a logged-in client opens any linked form, their details, like name, plan, and preferences, appear automatically.
📘 Learn more: What are Memory Forms
Step 5 — Prefill linked forms dynamically
Use lookup or linked fields to prefill related forms, such as:
- Request a service → prefilled with Client name and Account manager
- Feedback form → prefilled with Service type and Last interaction date
💡 Pro tip: You can also prefill via URL parameters when sharing links externally.
📘 Learn more: How to use URL parameters to pre-fill form fields
Step 6 — Create your customer portal
From your workspace, create a Portal and name it “Customer Portal.”
Add pages such as:
- My requests — list of linked service or support requests
- Submit a new request
- Invoices or reports
📘 Learn more: How to create a portal and manage users’ access
Step 7 — Add data blocks for client visibility
Inside the portal, add Table, Chart, or Card blocks to display client-specific data dynamically.
Examples:
- Table block: all requests submitted by the logged-in user.
- Chart block: progress over time, satisfaction scores, or billing totals.
- Kanban block: key info like Account manager, Plan type, Renewal date.
📘 Learn more: How to add a table data block in Formaloo
Step 8 — Restrict data by user role
Set access filters so each client sees only their own data.
In the portal’s page settings, use filters like:
Show only rows where Email = logged-in user’s email.
You can also create roles like Customer, Account Manager, and Admin for tiered visibility.
📘 Learn more: How to restrict users’ access to pages in your portal
Step 9 — Automate updates with on-update logic
Use on-update logic so whenever a client submits or updates a form, related records refresh automatically:
- When status changes → Notify account manager
- When renewal date updates → Send confirmation email
- When request submitted → Link to client record instantly
📘 Learn more: What is on-update logic and how it works
Step 10 — Add smart notifications
In Settings → Advanced logic or Notify tab, create automated emails for important actions:
- To client: confirmation of updates or submissions.
- To team: alert when a customer adds new data.
- To admin: daily digest of client changes.
📘 Learn more: How to send and receive conditional email notifications
Step 11 — Customize the portal layout
Personalize your portal’s look and feel:
- Add a cover image, logo, and brand colors under App Settings → Branding.
- Rename pages with clear, customer-friendly titles like My profile, My requests, or Support center.
📘 Learn more: How to customize your portal with your brand identity
Step 12 — Analyze client trends with AI
Enable AI Analyze to identify engagement and request trends:
- “Most requested services by client type.”
- “Accounts with recent activity changes.”
- “Top recurring issues or requests.”
📘 Learn more: Uncover insights and trends in your data with AI Analyze
Pro tips
- Use linked rows for real-time data across customer, request, and billing forms.
- Add Memory Forms for easy return visits.
- Create PDF summaries of client reports or monthly statements automatically.
📘 Learn more: How to generate custom PDFs using templates
Example scenario
A client logs in to your Customer Portal, where they see their project details, invoices, and support requests. When they open Submit a new request, their name, company, and plan auto-fill. Once submitted, the request links to their record and updates the dashboard instantly. AI Analyze later reveals that 60% of clients on Premium plans submit requests every two weeks — helping you optimize service capacity.
📘 Learn more: Build personalized and time-saving flows with logic, automations, and AI
FAQ
1. Can clients update their own information?
Yes, allow editable submissions in the Customer Profile form or via the data block setting.
2. Can I display different pages for different customer types?
Absolutely, use user roles or different visibility for segmented experiences.
3. Can I sync this portal with my CRM or Google Sheets?
Yes ,connect via integrations for automatic data sync.
📘 Learn more: How to add integrations on Formaloo
Your customer portal is live, personalized, automated, and effortless
You’ve built a fully functional portal where customers can log in, view their data, and submit prefilled forms. Continue expanding it with AI, linked forms, and branded layouts to deliver a seamless, self-service experience.
📘 Learn more: How to personalize ending pages and email notifications with AI
Last updated October 2025
.png)