
How to create an insurance quotation form
Making a personalized quotation form can make all the difference when giving clients accurate, customized estimates in a short time.
.png)

Making a personalized quotation form can make all the difference when giving clients accurate, customized estimates in a short time.
A quotation form is a structured document or online form that businesses use to gather information from clients to produce accurate and customized price quotations. Also, it helps to estimate the price and plan programs for items or services.
Basically, it includes fields or sections for gathering information including client contact information, product or service specifications, quantities, pricing choices, and any other requirements or special requests.
Online quotation forms are beneficial in a variety of businesses:
- Sales and service providers
- Contractors and freelancers
- Event planning and catering
- Consulting and professional services
- Insurance companies
- Web designers
- Delivery companies
- Homeowners
In this post, we’ll learn how to build a simple insurance quote form in some easy steps. Let’s dive in!
Build your customized quotation format
Follow these simple steps to get started:
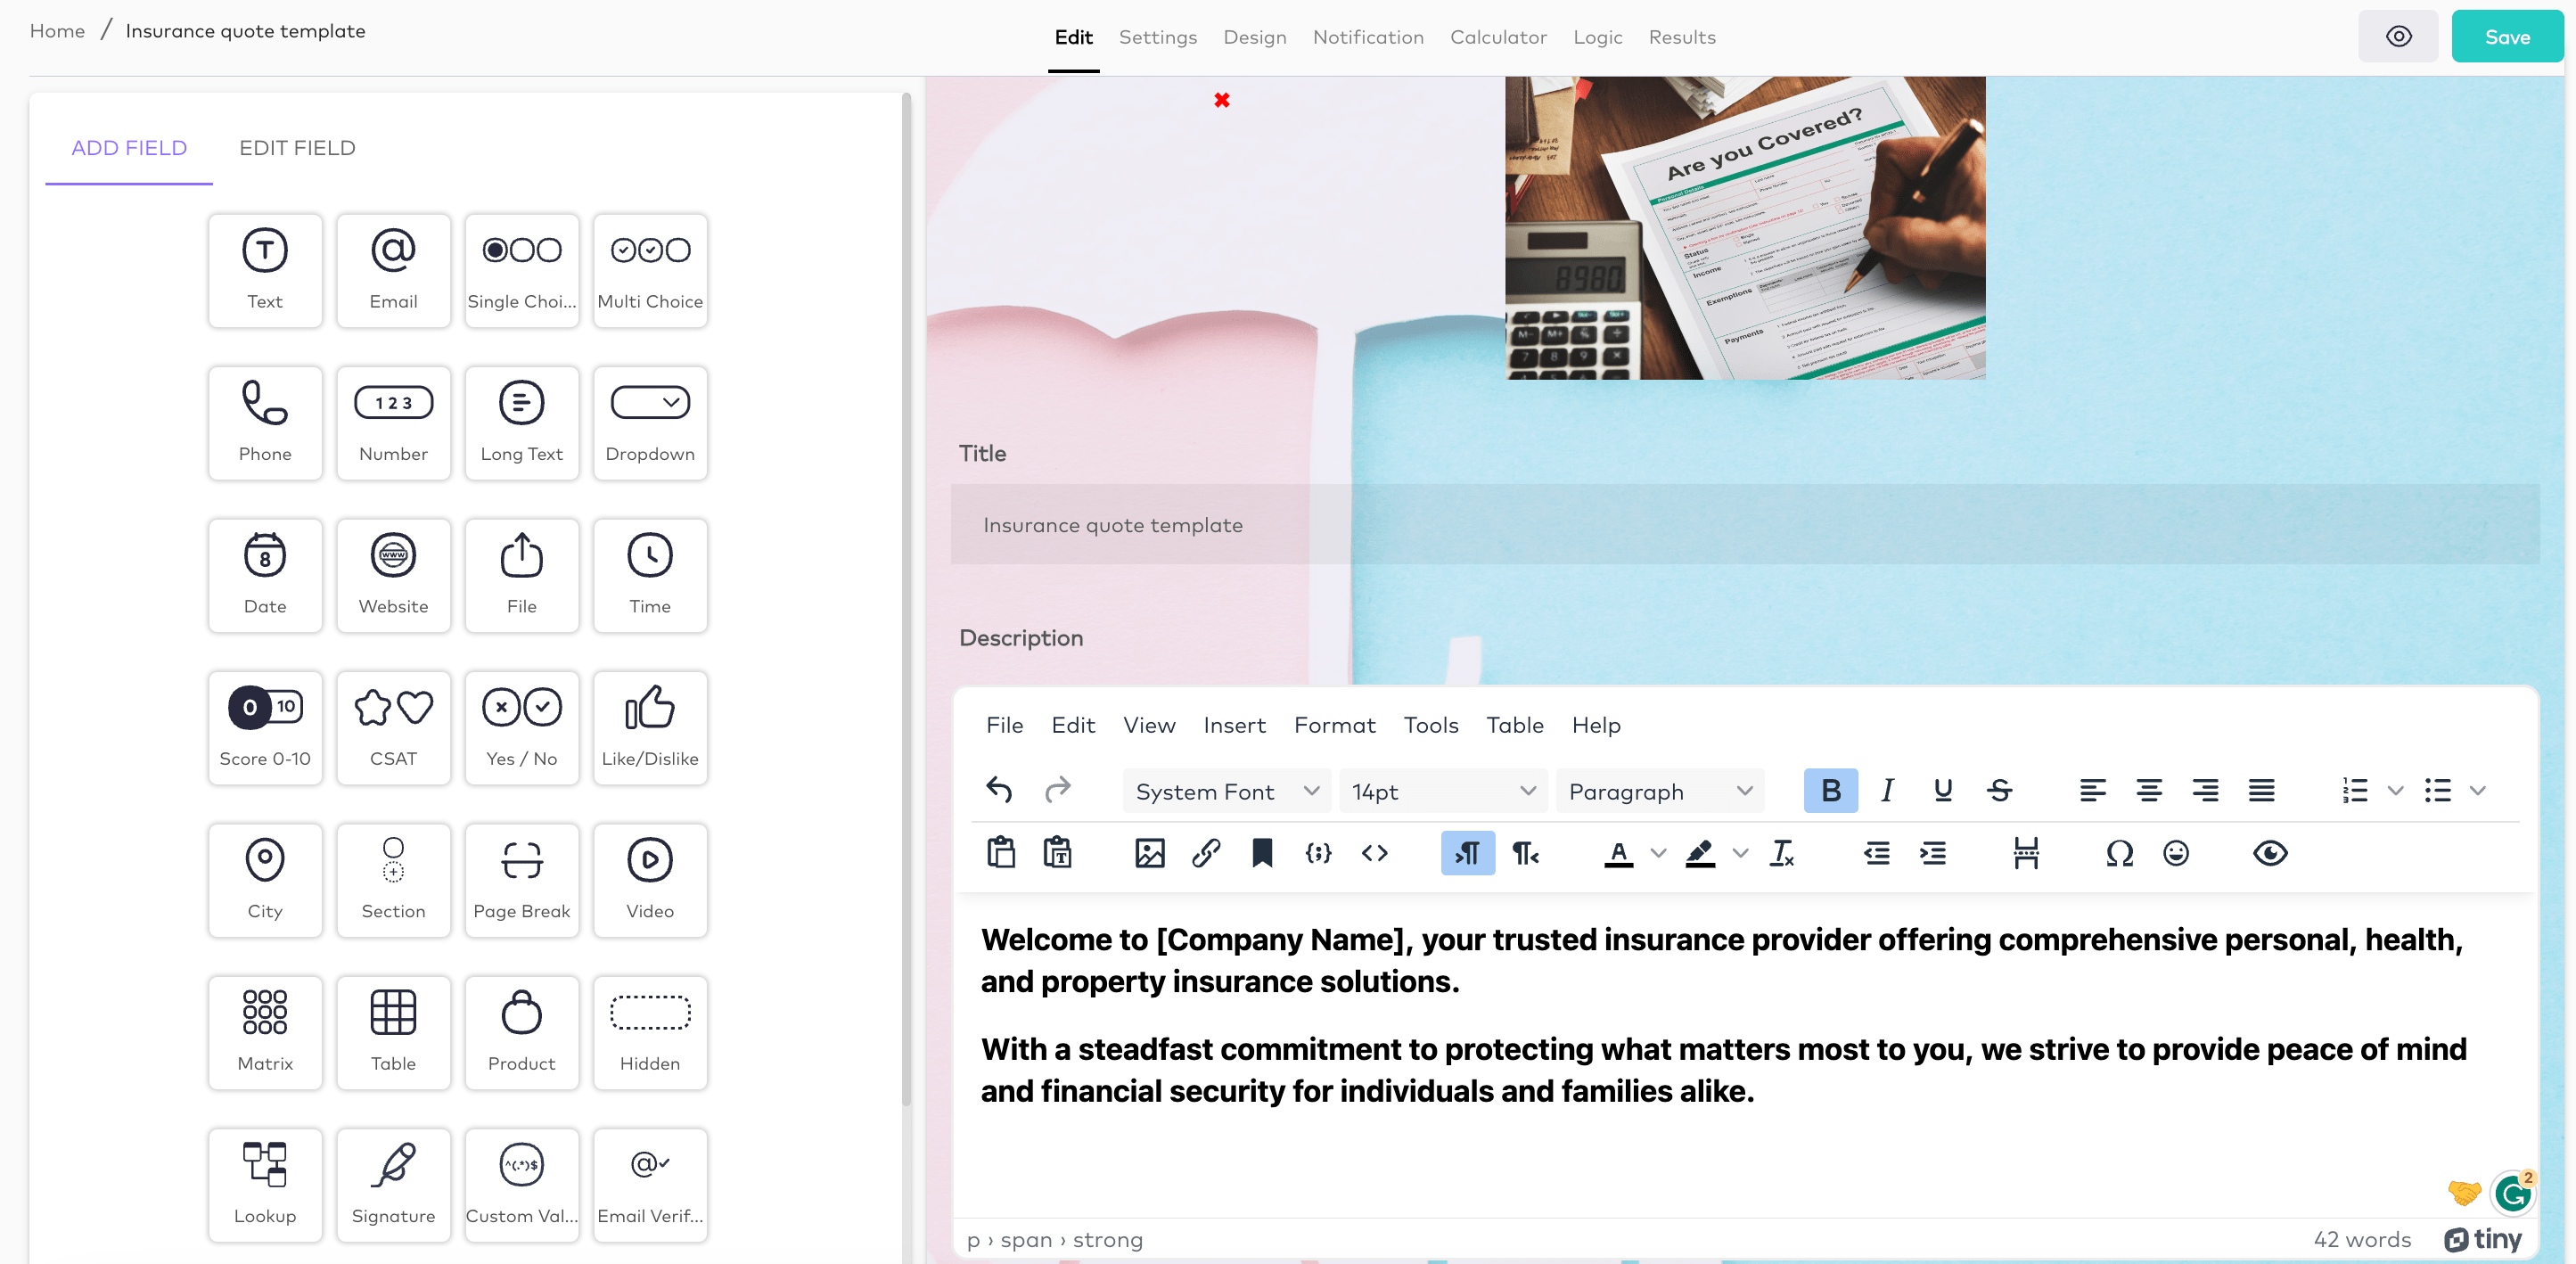
Step 1: Create a form and add fields
Once you are login to your dashboard, you’ll gain access to our 200+ Templates to use and customize them, or make your form from scratch.
Add your logo and background, and start adding any field that you want to use in your form such as name, address, email, signature and etc.
You can add some information about your service or your company in the “Description” after the title.
Discover more about all the options and fields available for your forms: How to create a form with Formaloo.
Start customizing the form by adding any fields you want to! And then customize your form to the next level.
Step 2: Add the type of your service, show/hide the next options
Firstly, if you want to collect data from your customers based on different categories, you can use a single choice or dropdown field to add your options as the answer. Then, you can show or hide the next fields on your form with the logic.
Let’s see how it works in our insurance quote template:
Here we have two options for the type of insurance:
- Option 1- Personal
- Option 2- Company
For the logic, click on the “logic” tab from the top of your form editor and go to “Advanced logic“.
Now, for your question, add a condition:
If the Type is Option 1. Personal, then Show Client Name and Client Address.
This means that by default, the “Company Name” and “Company Address” fields are hidden. But if the user chooses “Option 1. Personal” as the insurance type, they will get visible automatically.
And add another condition:
If the Type is Option 2. Company, then Show Company Name and Company Address.
This means that by default, the “Client Name” and “Client Address” fields are hidden. But if the user chooses “Option 2. Company” as the insurance type, they will get visible automatically.
So in this way, you can manage to fill out your form faster and reach any field you need based on the options before.
Step 3: Variable fields and formulas
To calculate the total estimated cost, you can use variable fields and select formula type, so you can calculate different fields together.
For each field, we need an “ID” to calculate the total price in the formula and also for showing the calculated price in the table that we create in our form. IDs are unique identifiers of fields and help you call the field’s value in formulas and also in answer piping.
Let’s go back to our template:
This template has a Section field in which it shows the calculated total costs: The estimated cost of insurance, discounts, tax, and finally the total payable amount.
- As you see, we have a “Number field” for the estimated cost of insurance, and we named the ID for this field: cost
- The next field is a number field for the discounts you want to add to the total price with an ID named: discounts.
It’s time to Add variable fields. Variables are used for hidden calculated values and can be used as references in other runtime expressions like calculated value controls and rules.
- So, the next field is a variable field for calculating the net cost which is “cost” minus “discounts”, by this formula: cost – discounts. And we named the ID: net.
- Next is the payable tax, including 10 percent of the “net cost”. As you see in the formula, it’s calculating 10 multiplied by “net cost” and divided by 100. The formula is: 10*net/100 and the ID is: tax
For all variable fields, set the number of decimal places to 2, so decimal amounts can be calculated and added to the total price.
- Now to show the Total tax(10%) on your form, use a “Section field” to pipe the calculated value of the tax. You can use the answer piping feature to pass a variable field value to another field in your form. You should pipe the value inside the description like: {{tax}}
- The last variable is the Total estimated cost, which is the sum of the Net cost and Total tax with this formula: net+tax, and the ID is: total_cost
So, you can pipe this total estimated cost in the next field to be visible on your form.
Step 4: Pipe your estimated prices in one place
Let’s see how you can show these values in the form so that your user can see them too.
Answer piping helps you with that! Just put the ID of your field in double braces and it will automatically show the field’s value there.
Finally, you can make a section field and pipe your prices there. Write all the values inside the description and organize them in the tables or any design you want.

And that’s it! you have created a quotation form in just a few clicks!
You can create an app and customize it to see all your data in one place. Also, you can print your form and information for your customers or share the results with them.
Learn more about how to create an app to manage your data.
Simplify your quoting process with a customizable quotation form
As a result, with quotation forms, you can organize to automate and improve productivity, accuracy, and professionalism.
By following the steps mentioned above, you can make a quotation format that looks professional. It assists you in gathering relevant data from potential consumers and calculates your pricing instantly.
Regardless of your industry or business type, Formaloo offers an effective tool for simplifying and improving your quotation workflow, therefore ensuring your success in a competitive marketplace.
Start creating your from scratch or select from our 200+ templates.
Sign up for Formaloo for free. Start exploring the features it offers. These range from simple contact forms to complex and logical quizzes and surveys.
Follow us on our Youtube channel to get tutorials and live product demos.
If you have any questions, check out Formaloo’s support page to find ways you can contact us.


